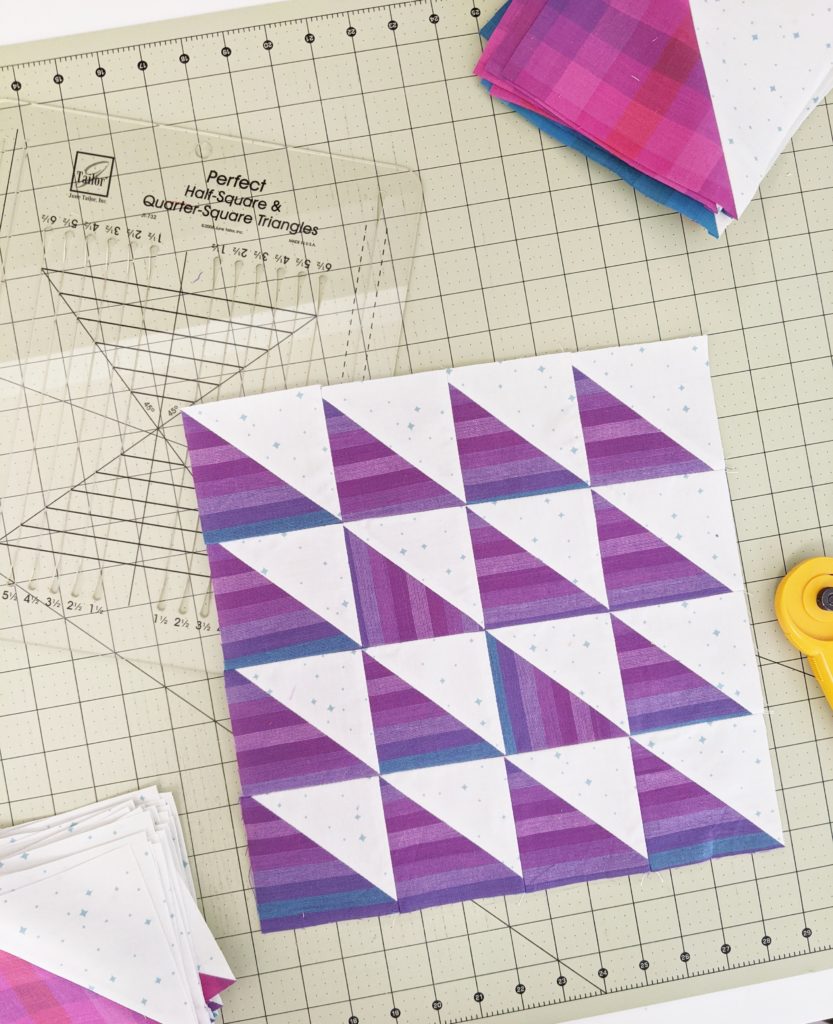
Hi everyone! Today I am going to talk about the quarter inch seam. If you’re new to quilting, there are a lot of tips and tricks that can help you maintain a consistent, scant seam allowance, which in turn helps you get more precision in your quilt tops.

Have you heard of the scant quarter inch seam? I use it all the time when I’m piecing quilt tops. It basically means to be just shy of a quarter inch. Since the thread takes up a little bit of the space when you press your seam open, the end result ends up pretty close to a quarter inch, versus being slightly over a quarter inch. You can test out your seam allowance by sewing together two squares, say 2″ squares, pressing the seam open, and checking the size of the result. If your width is pretty close to 3.5″, then your seam allowance was great! If it’s too small or too big, then make the required adjustment. Amy at Diary of a Quilter has some excellent pictures and guides to help you get the perfect scant seam.
Another thing that can help with a good seam allowance is a quarter inch foot. There are many types of these, and I have two.

The foot on the left is a standard quarter inch foot, and the one on the right is a quarter inch guide foot. For my Juki, the quarter inch seam guide foot is not quite scant enough, so I use the one without the guide. I have learned where to aim the fabric in relation to the foot edge to get the scant seam just right for my machine. This just takes practice!
Another fun trick to getting a good quarter inch seam is Allison at Cluck Cluck Sew’s diagonal seam tape. This is not only great for your quarter inch seam, but it can help you sew half square triangles without having to mark the center line!

However, if you don’t want to put tape on your machine, Andi at TrueBlueQuilts has a great post on how to sew half square triangles without tape or markings!
What other tips and tricks do you know for getting a precise quarter inch seam? I’d love to hear!
