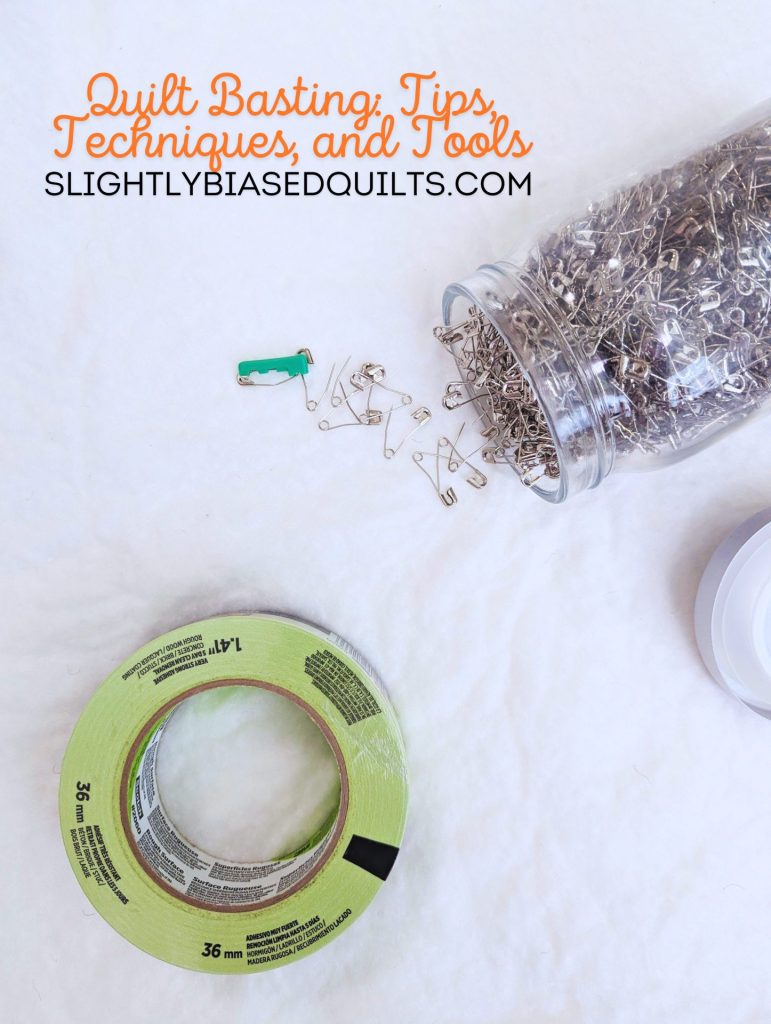
Quilt basting is the step that holds together the layers of fabric, batting, and backing before the final quilting stitches are added. While it may not be the most glamorous part of the quilting process, proper basting is essential for achieving smooth, wrinkle-free results in your finished quilt. Today, let’s explore some tried-and-true methods, tools, and techniques for mastering the art of quilt basting.
The Floor-Pinning Method
When it comes to basting my quilts, I prefer the tried-and-true method of pin basting on the floor. It’s a simple yet effective technique that allows for maximum control and precision during the basting process. Plus, it’s easy to adjust and reposition the layers as needed to ensure smooth, even tension across the entire quilt.
Tools of the Trade
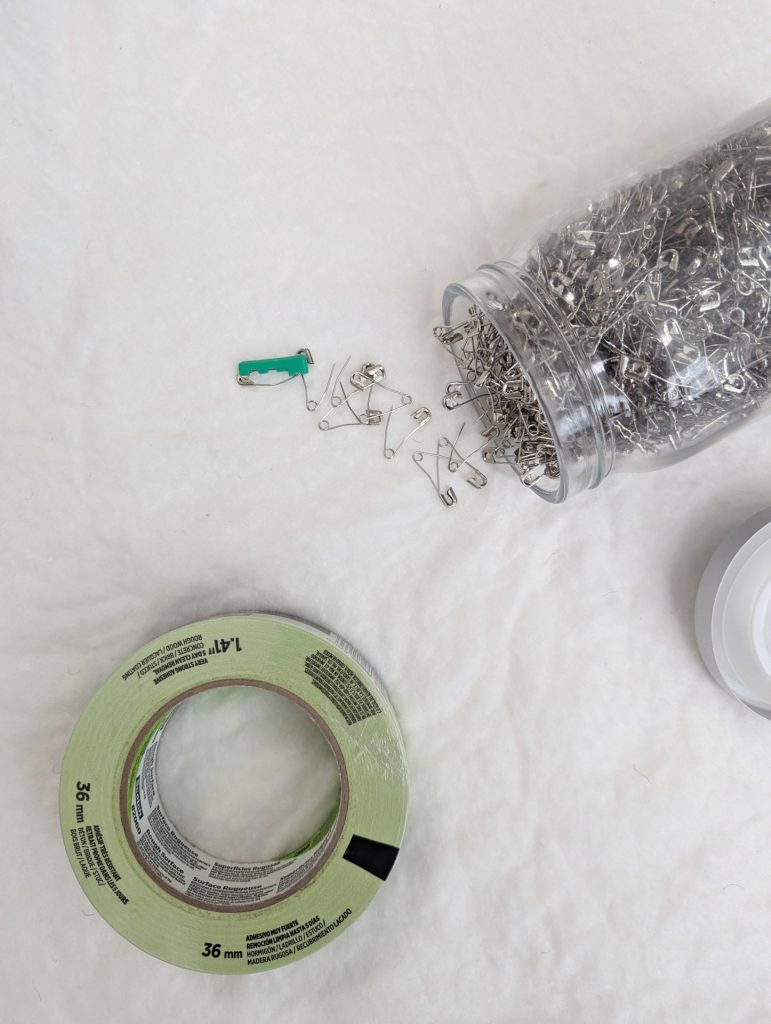
To get started with floor-pinning, you’ll need a few essential tools:
- Curved Pins: These specialized pins are designed to glide smoothly through multiple layers of fabric and batting, making them ideal for quilt basting. With their gentle curve, they’re less likely to distort the fabric and create puckers or wrinkles.
- Painter’s Tape: I swear by green painter’s tape for securing the quilt layers to the floor. Its low-tack adhesive holds everything in place without leaving behind any sticky residue, making it easy to reposition as needed. Plus, it comes off cleanly without damaging the fabric or flooring.
- Batting: For my quilts, I typically use Warm and White or Warm and Natural batting. Both options provide excellent loft, stability, and warmth, resulting in a beautifully drapey quilt with minimal shrinkage.
How to:
- Lay your backing on the ground wrong side up and tape down all the sides and corners.
- Lay your batting on top of your backing. If you’re using a batting with skrim, the side with the bumps and dimples goes towards your backing to give your top the smoothest finish.
- Layer your top on top. Center it so there is an equal amount of backing and batting around the sides of your quilt. These 3 layers make your quilt sandwich! .
- Using curved safety pins. pin your layers together every 6 to 10 inches. Remove the tape and you’re ready to quilt!
Another way to do this process without the pins is to use a basting spray between the backing and batting and the batting and top.
The Giant Jar of Pins
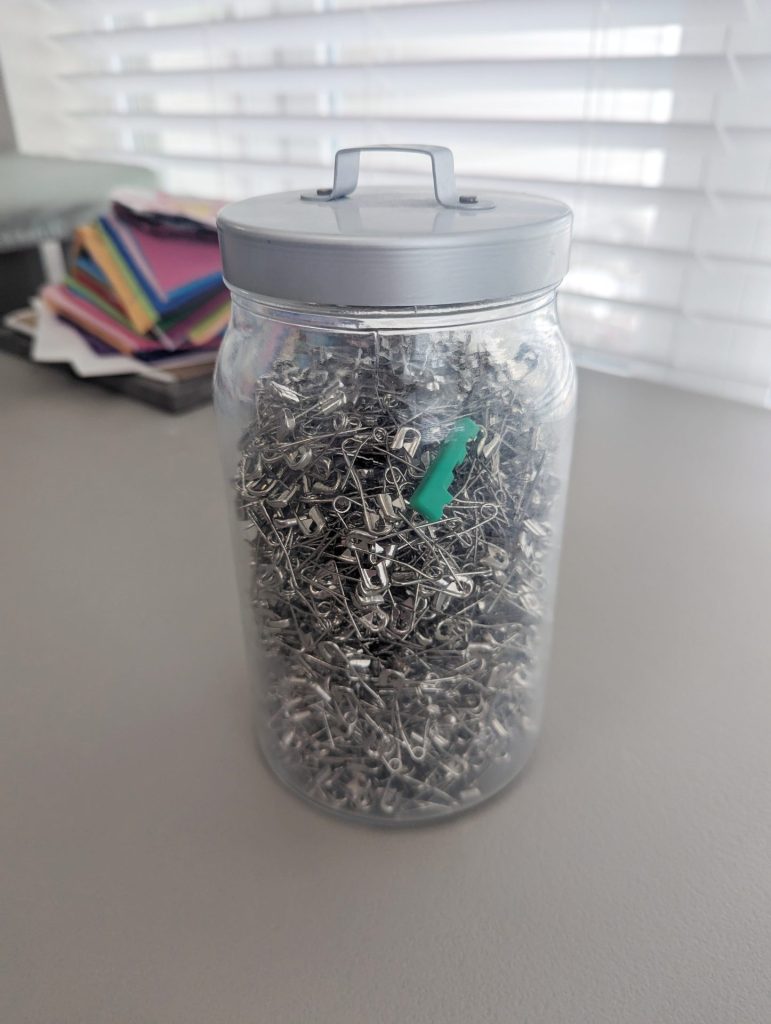
In my quilting studio, you’ll find a giant jar filled with almost a thousand curved pins—a testament to the countless quilts I’ve basted over the years. While it may seem like overkill, having plenty of pins on hand ensures that I never run out mid-basting. Plus, when I used to baste multiple tops at once, I needed a ton of pins to keep everything secure and stable. One fun thing to note is that I store the pins open! When I take them out of the quilt as I’m quilting, I just throw them in as-is, since I’ll need them opened the next time I need some anyway.
The Kwik Klip Conundrum
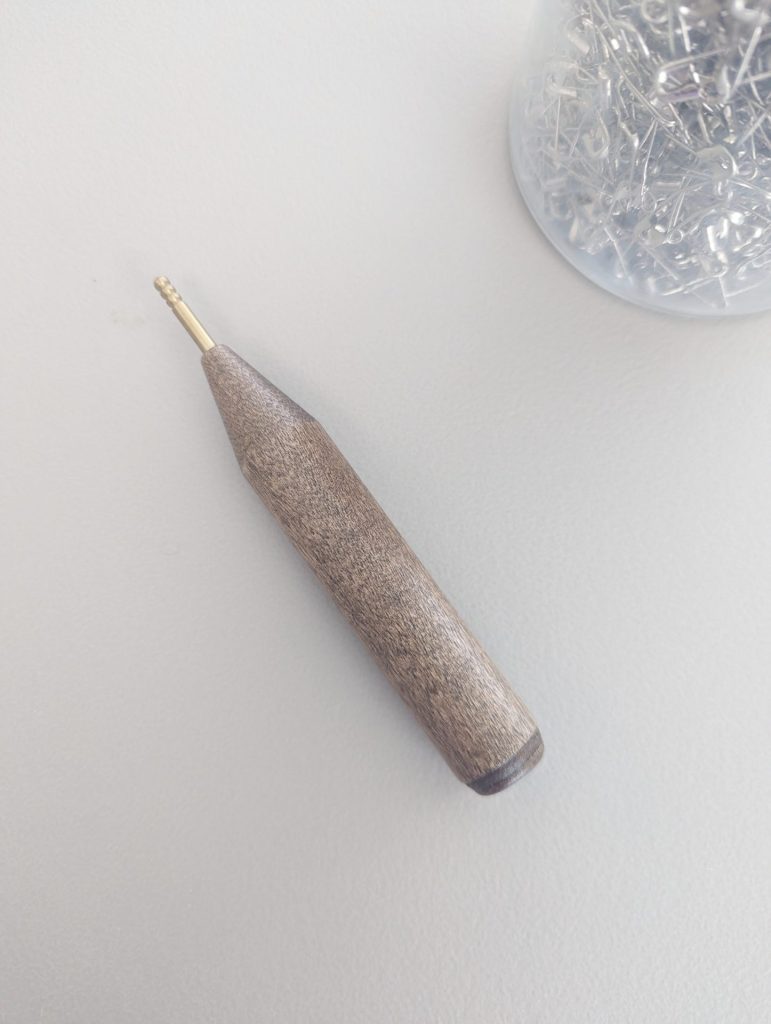
While some quilters swear by the Kwik Klip tool for easily closing safety pins, I have to admit that it didn’t quite live up to my expectations. Despite its purported benefits, I found that I preferred the tactile sensation of manually closing the pins with my fingers. Call me old-fashioned, but there’s something satisfying about feeling the pin snap closed as I secure each layer of the quilt.
Quilt basting may not always be the most glamorous part of the quilting process, but it’s a crucial step that sets the foundation for a beautifully finished quilt. Whether you prefer the floor-pinning method like me or opt for alternative basting techniques, the key is to find what works best for you and your quilting style. So gather your pins, tape, and batting, and let’s get basting! After all, every stitch brings us one step closer to creating something truly extraordinary—one quilt at a time.
