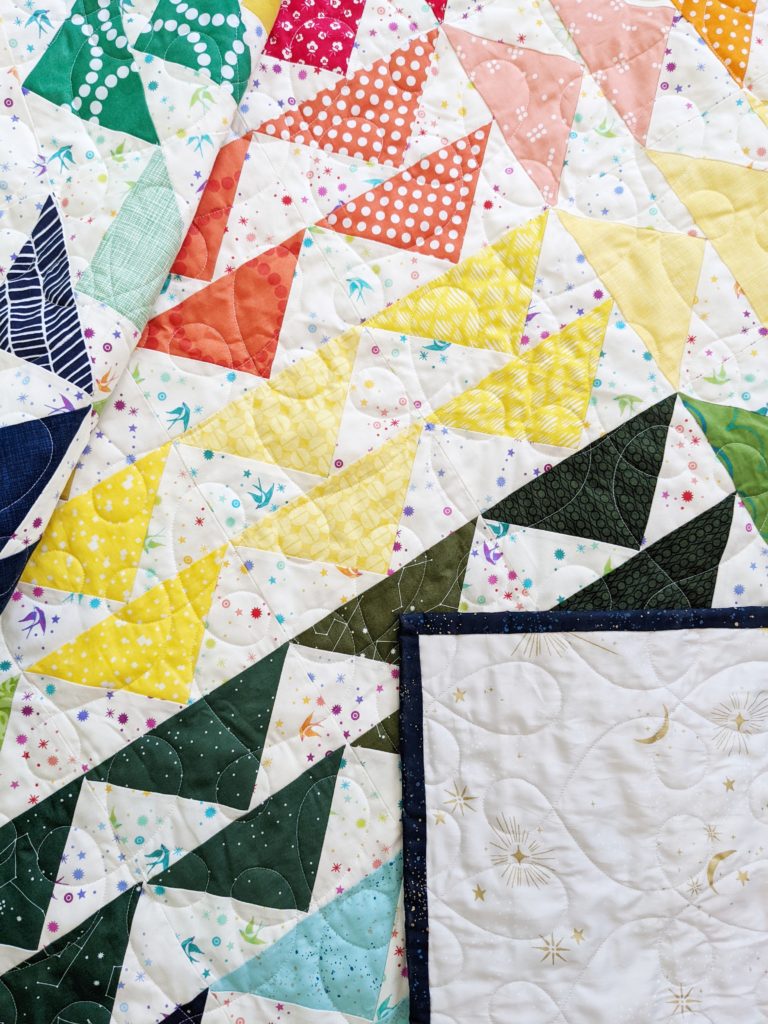
Flying Geese are a timeless quilt block that adds movement and direction to any quilt design. Their simplicity and versatility make them a staple for quilters of all skill levels. Today we’ll talk about two popular methods for making Flying Geese units—the “Stitch and Flip” method and the “4-at-a-time” method using the Creative Grids ruler. We’ll also touch on the fascinating history of Flying Geese and why they remain so beloved in the quilting world.
A Brief History of Flying Geese
The Flying Geese block is thought to have originated in the early days of American quilting, with designs often reflecting nature and daily life. The triangular “geese” units represent the flocks migrating through the sky, a common sight for early settlers. Some even speculate that Flying Geese blocks were used in quilts as signals for travelers along the Underground Railroad, symbolizing the northward flight to freedom. Today, these units are used to create a sense of movement and are a perfect addition to borders, sashing, or as focal points in larger quilt designs.
Why Flying Geese are Fun to Make
Flying Geese units are incredibly versatile and can be used to create a wide range of quilt patterns. From the simple rows of geese flying in formation to more complex star blocks, this unit adds both structure and visual interest. What makes them especially fun is that they provide the perfect opportunity to use up small fabric scraps while honing your precision piecing skills. Plus, with multiple construction methods available, you can choose the one that best suits your style or your scraps.
Now, let’s fly into two methods for creating Flying Geese units: the “Stitch and Flip” method and the “4-at-a-time” method with the Creative Grids ruler.
The Stitch and Flip method is one of the simplest ways to create Flying Geese units, and it’s great for beginners. Here’s how it works:
Materials: For each Flying Geese unit, you’ll need one rectangle for the “goose” (the larger triangle) and two squares for the “sky” (the smaller triangles). For this set of instructions I am using a 2½″× 4½″ rectangle and (2) 2½″ squares.
Instructions:
- Draw a diagonal line from one corner on the back side of both squares.
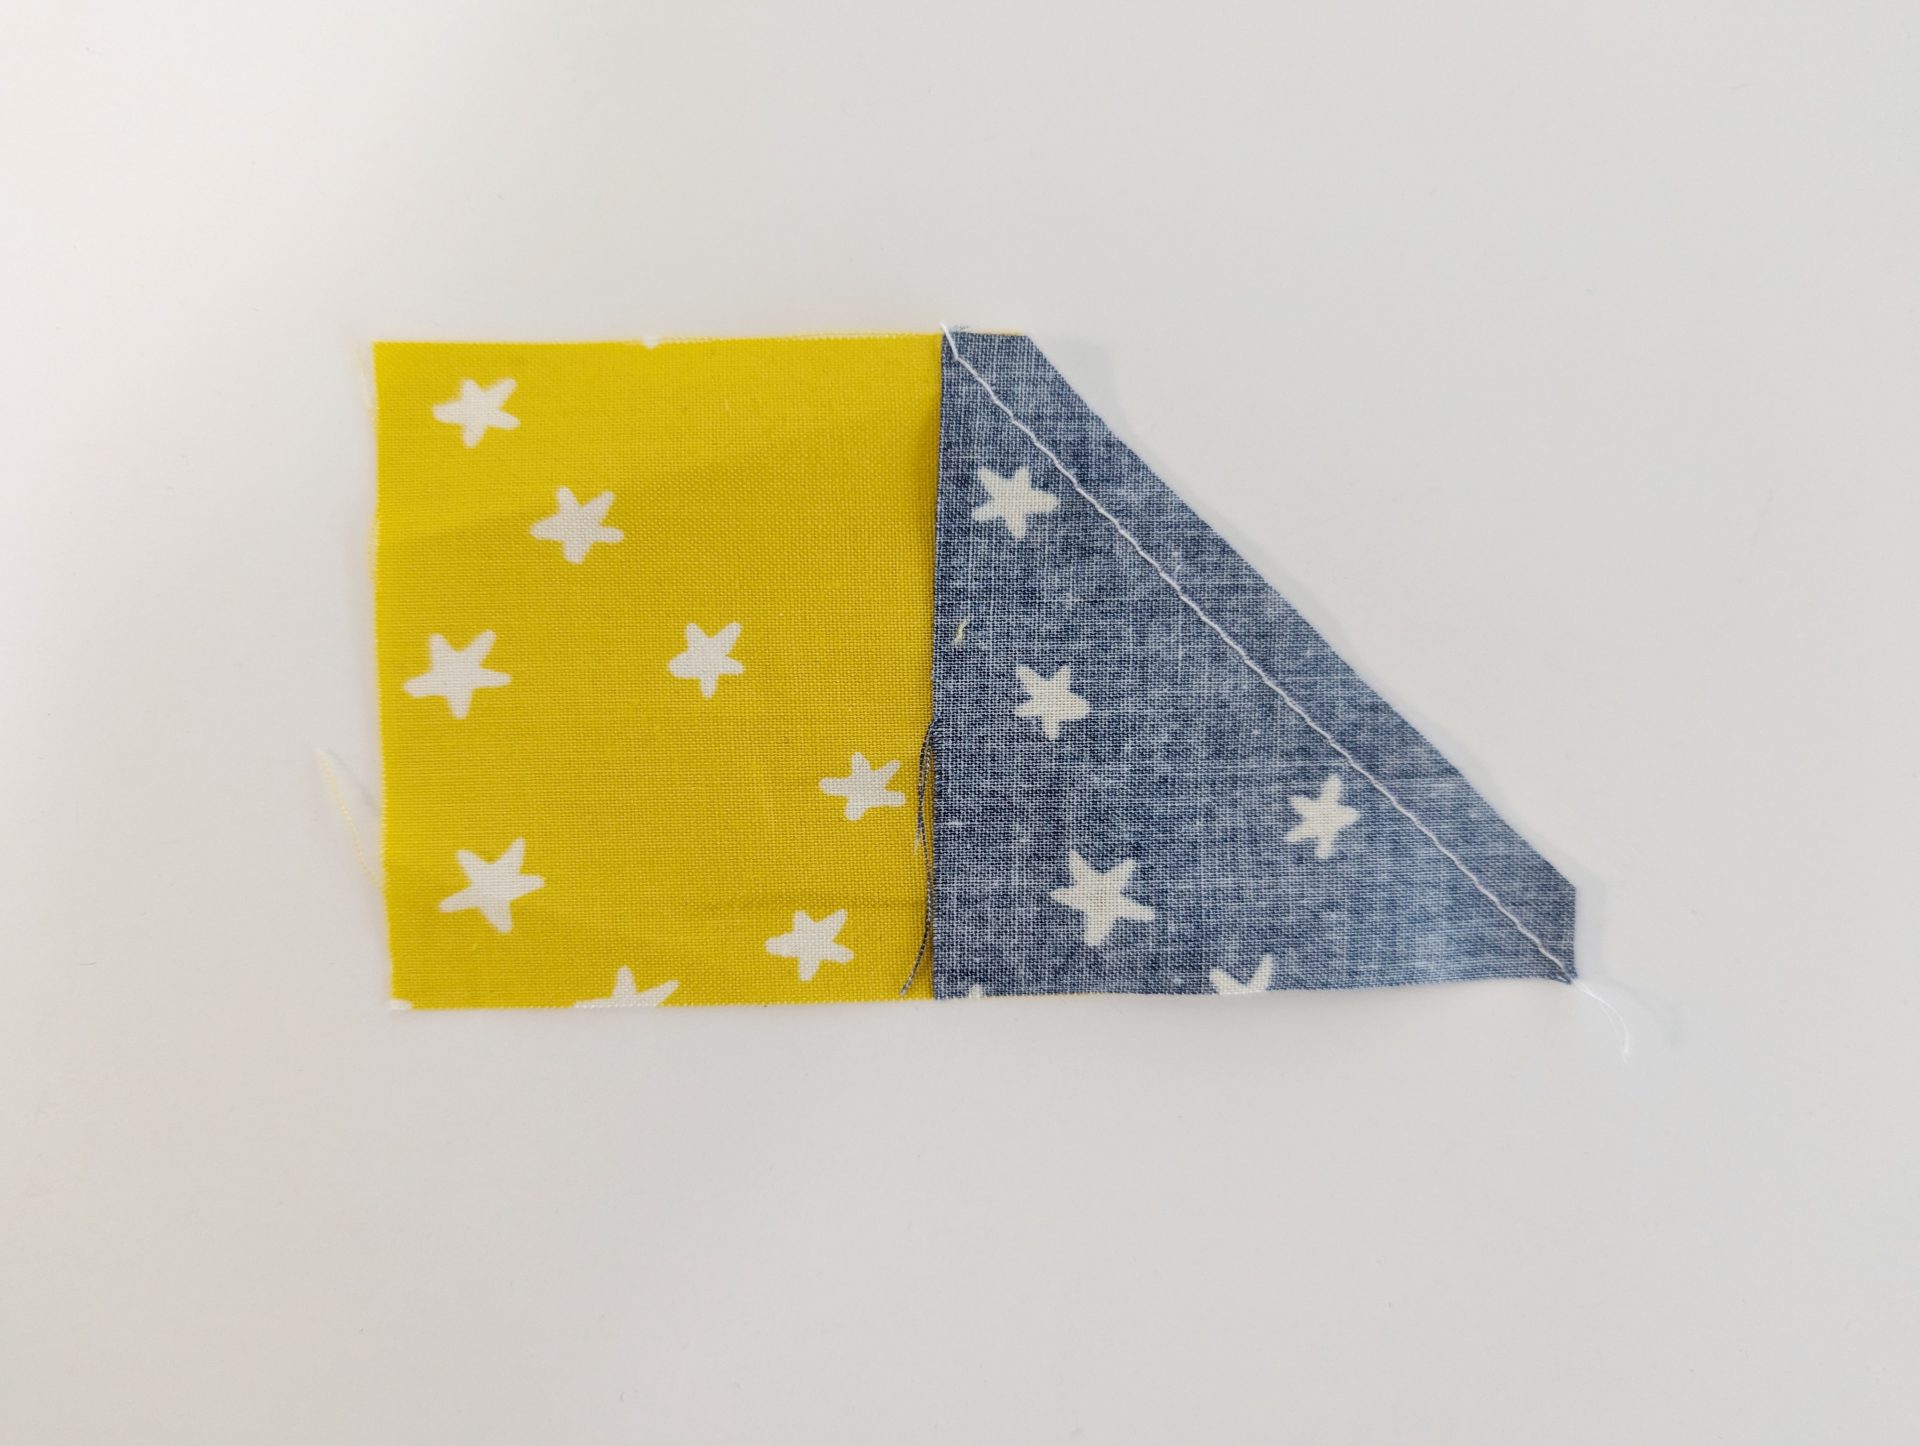
- Place this square on the rectangle noting the direction of the diagonal.
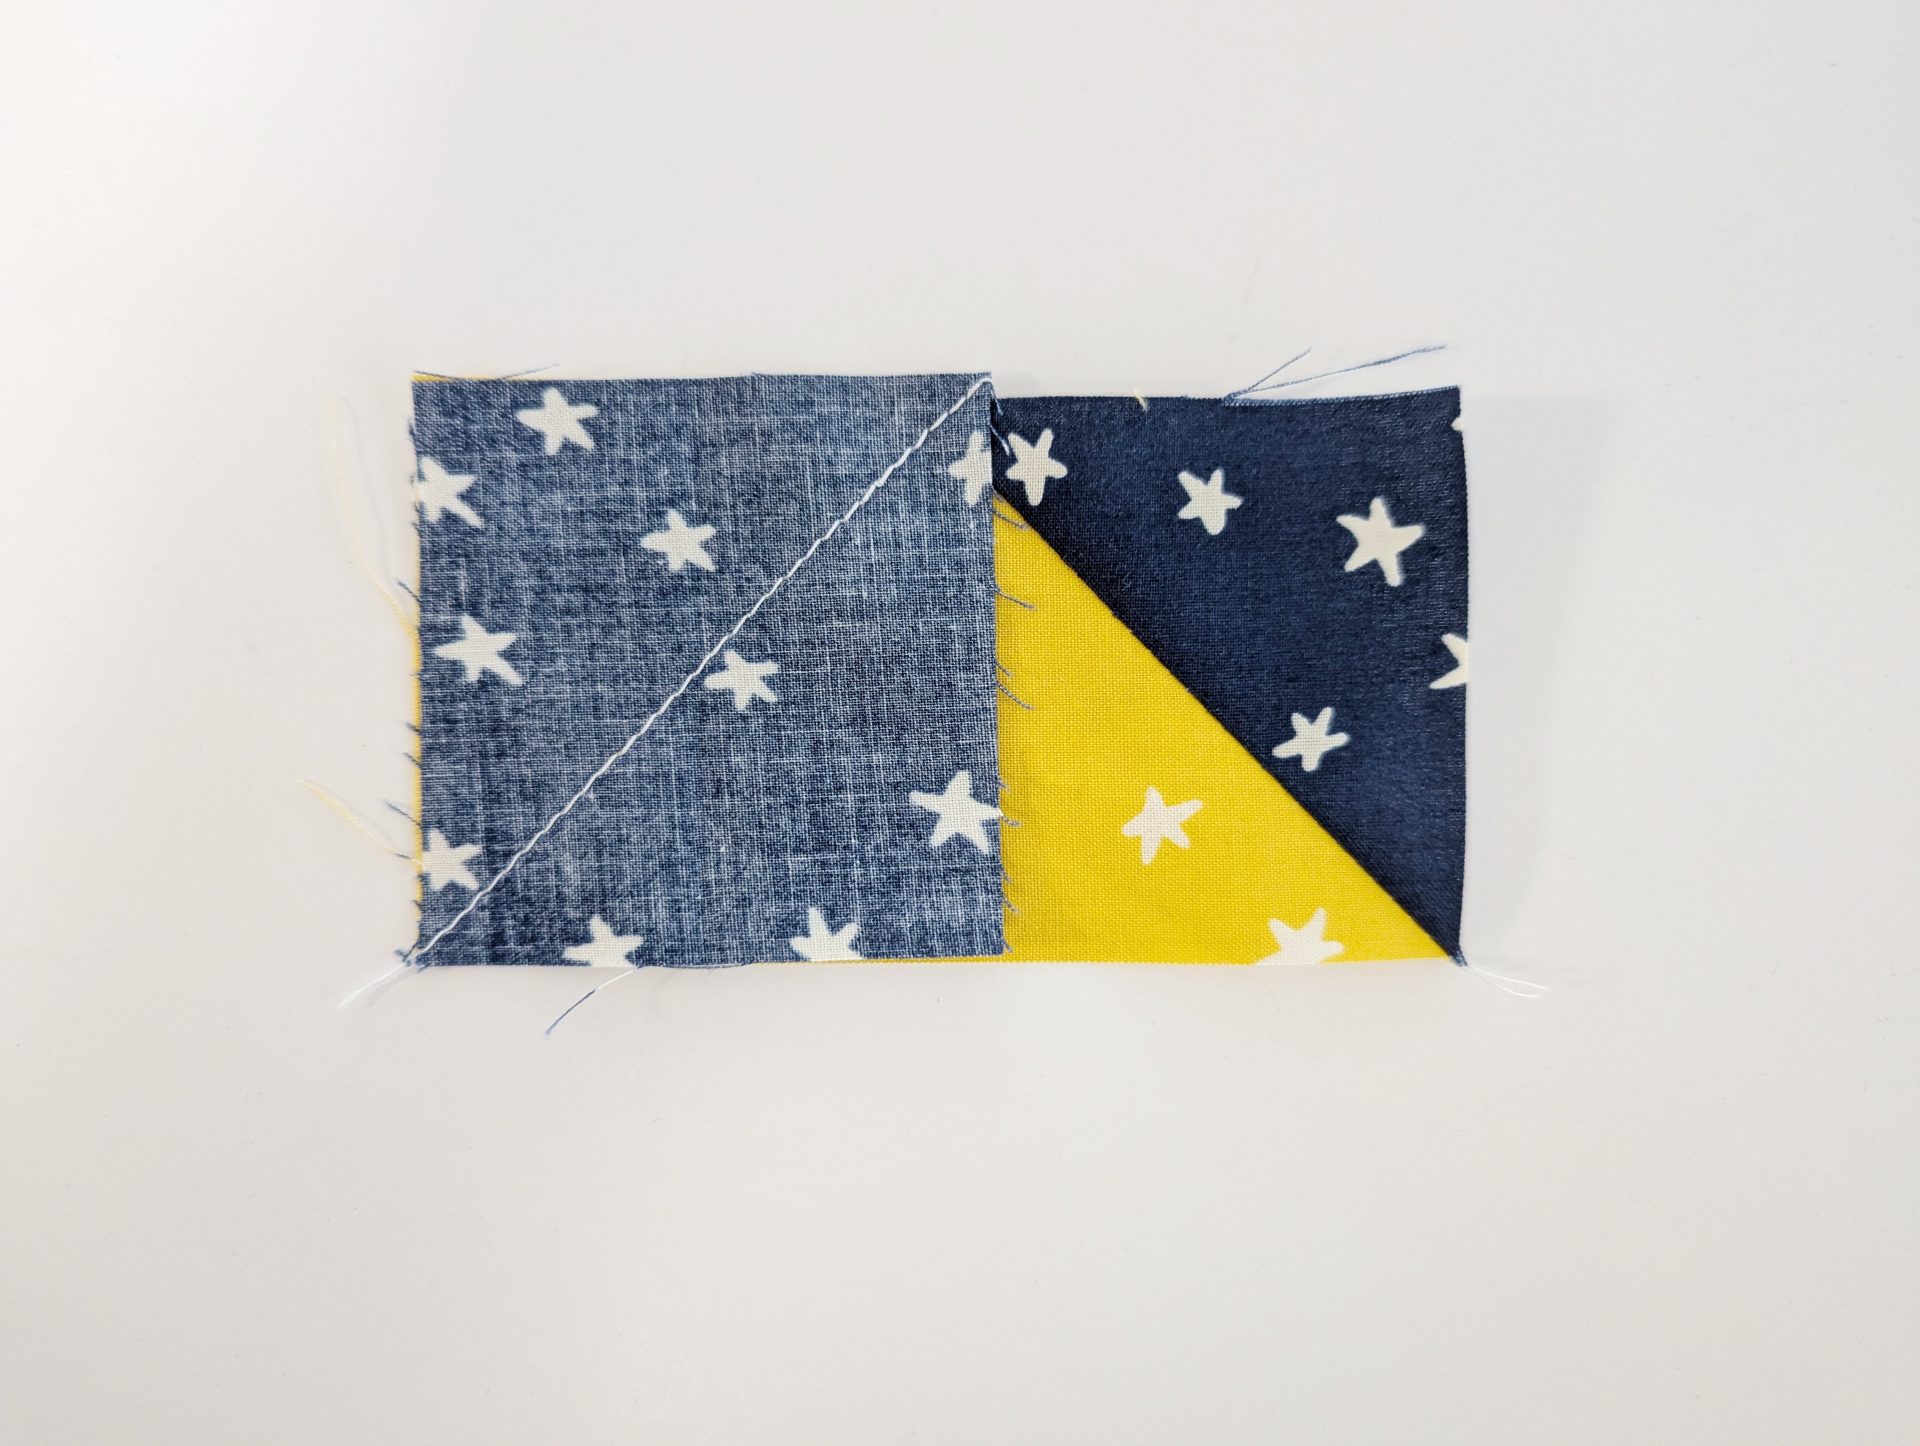
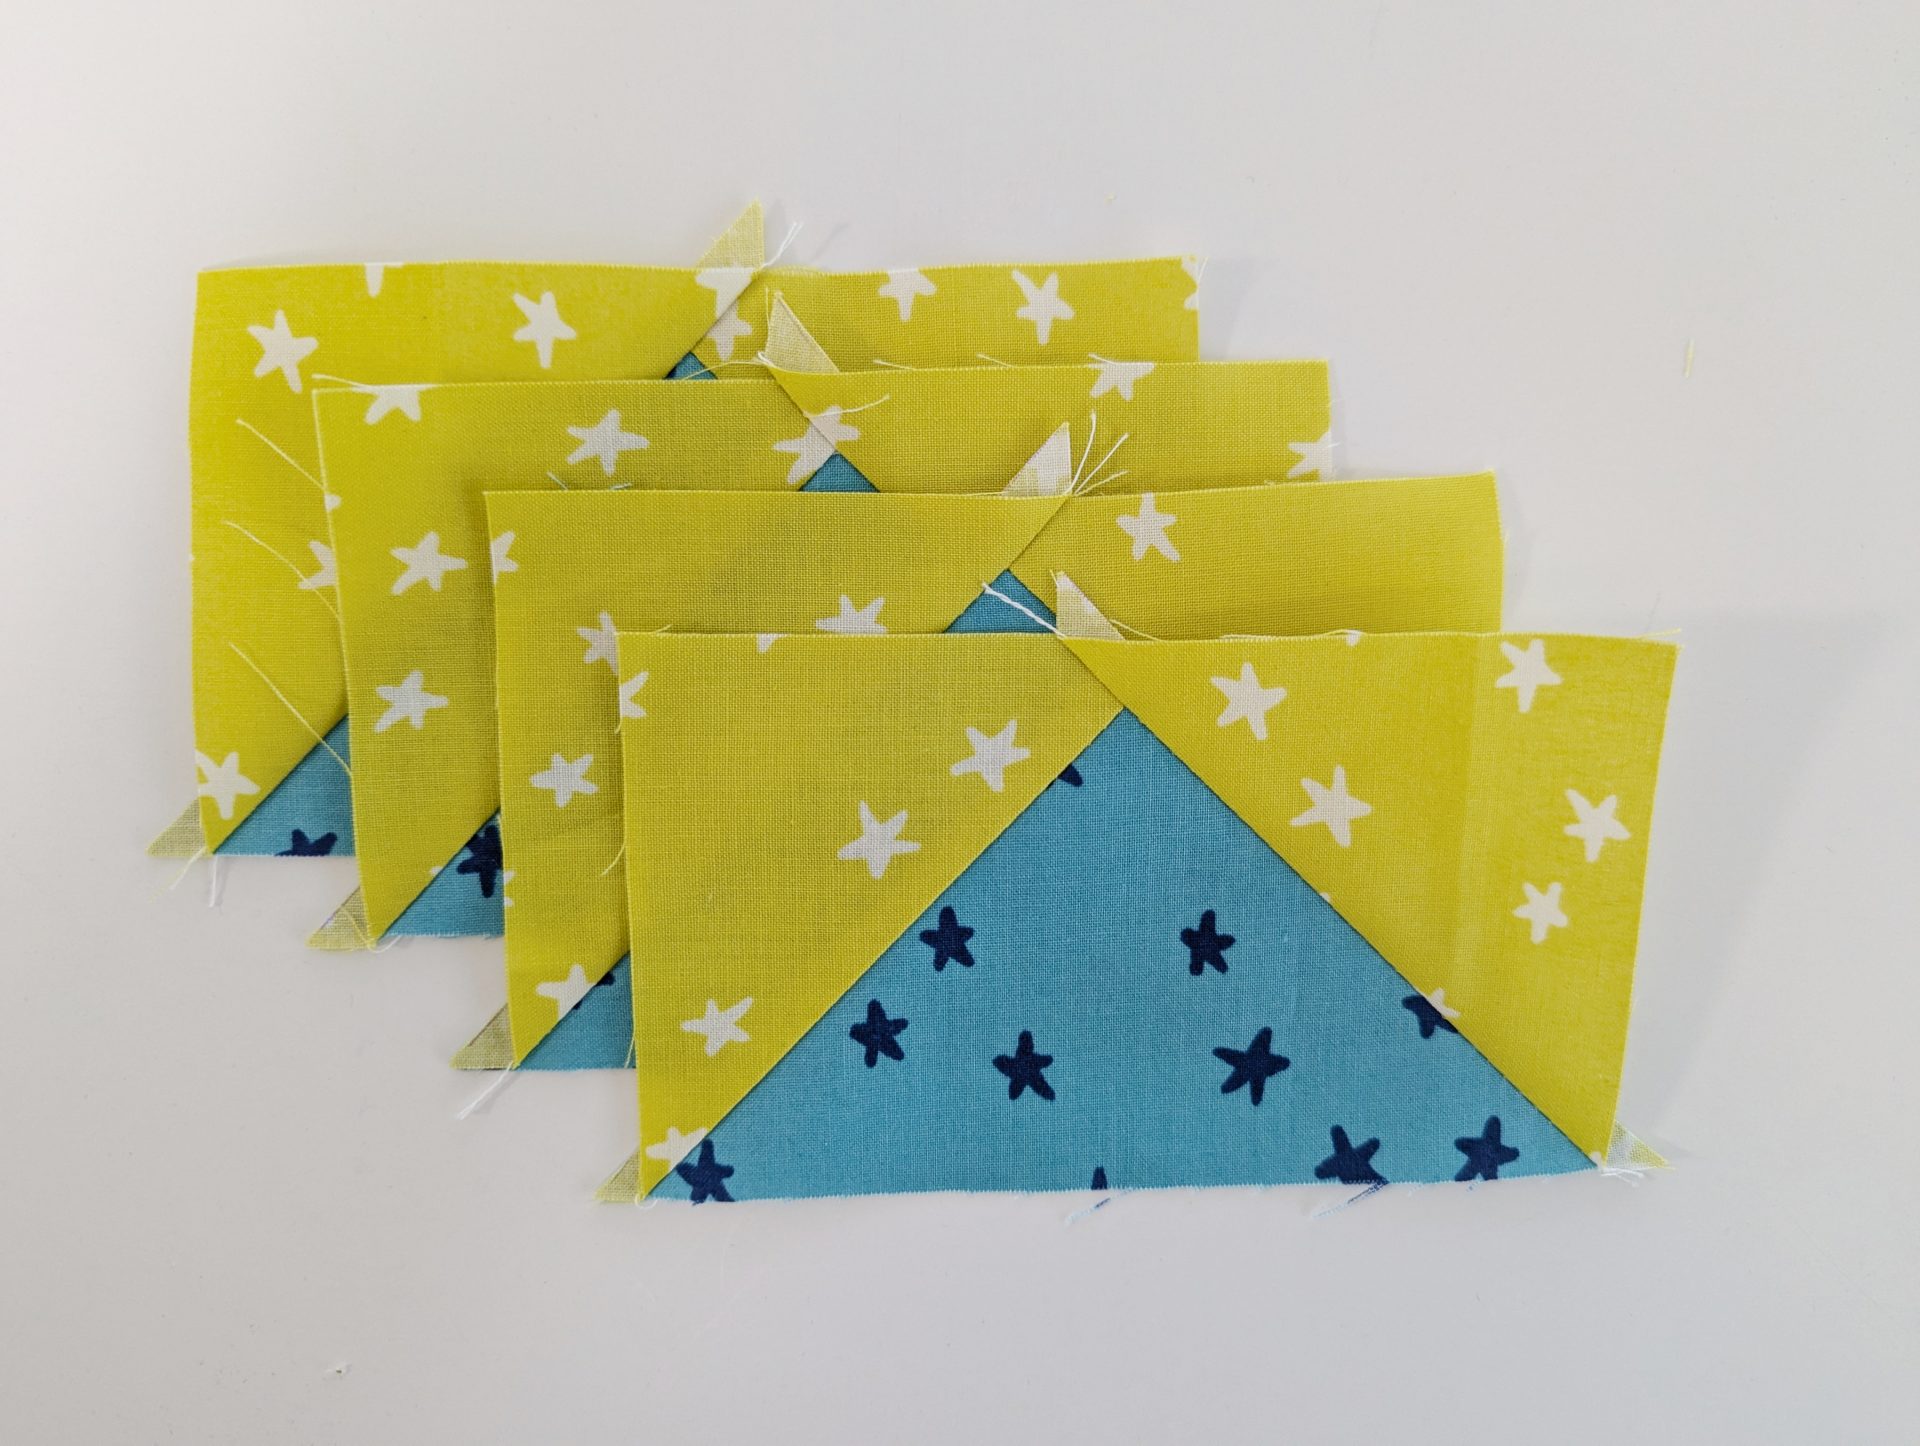
- Sew directly on the drawn line, then trim ¼” away from the seam. Press toward the square to reveal the first half of your Flying Geese.
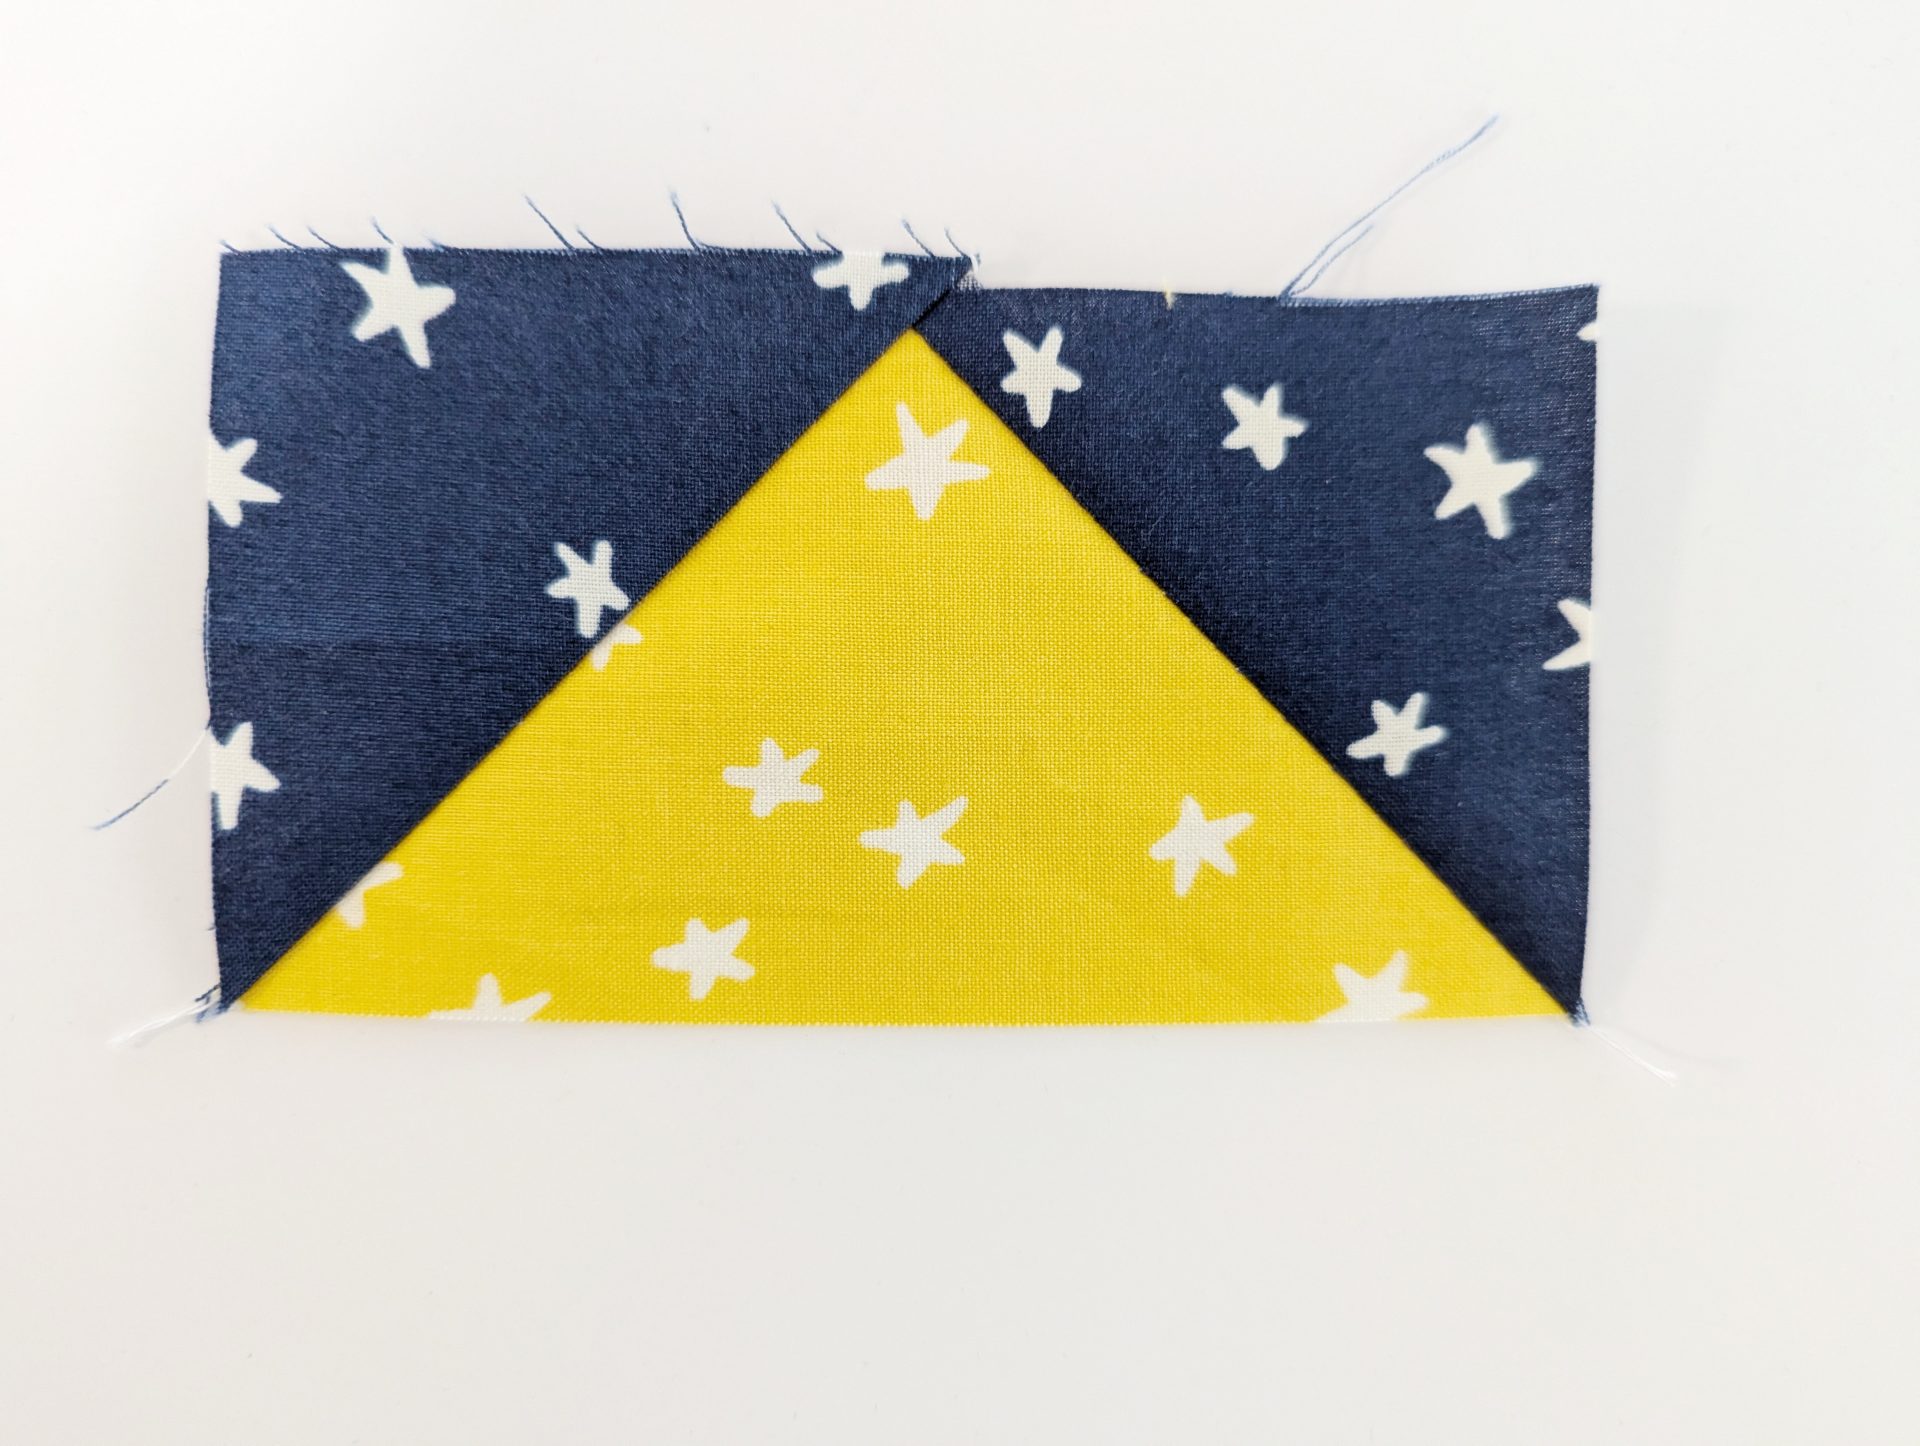
- Repeat on the other side of the rectangle with the second square. You’ll now have a completed Flying Geese unit! Unit will measure 2½″× 4½″.
This method is perfect when you need a small number of units or when working with scraps. However, it does result in some fabric waste from the trimmed-off corners.
Pro-tip: Keep those triangles to make some quick HST units!
Method 2: 4-at-a-Time with the Creative Grids Ruler
If you’re looking to make Flying Geese more efficiently, the 4-at-a-time method is a game changer. It produces four units at once with no fabric waste. By pairing it with the Creative Grids Flying Geese ruler, you can achieve perfectly sized geese every time!
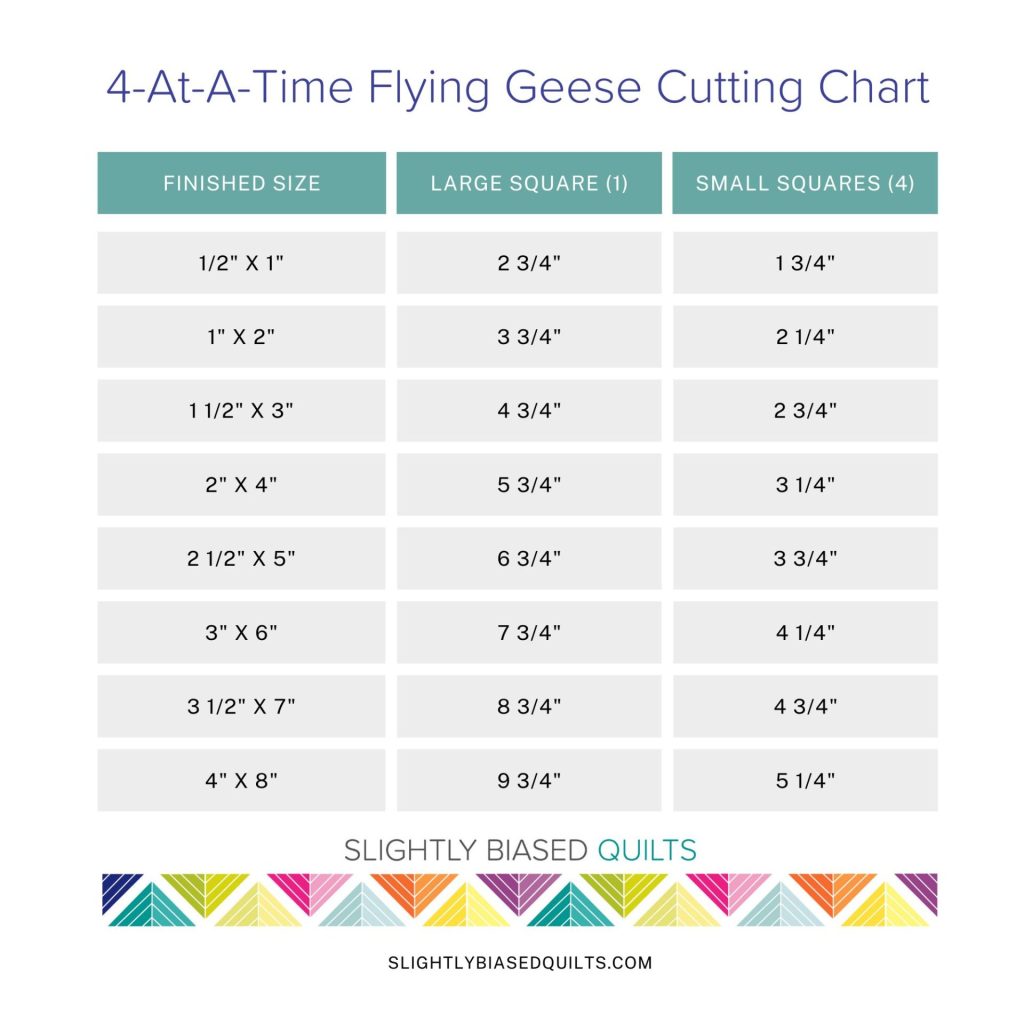
Materials: Start with (1) large 5 3/4″ square for the “goose” and (4) smaller 3 1/4″ squares for the “sky.”
Instructions:
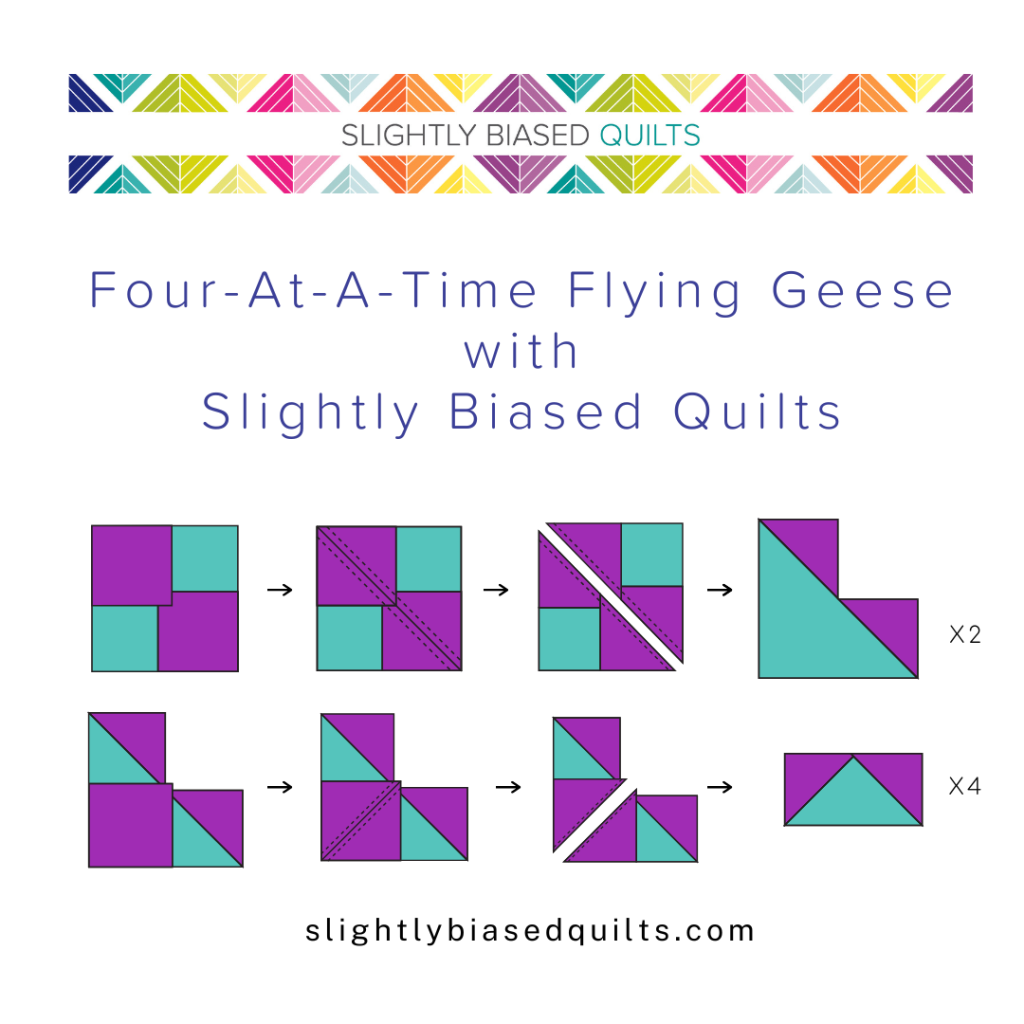
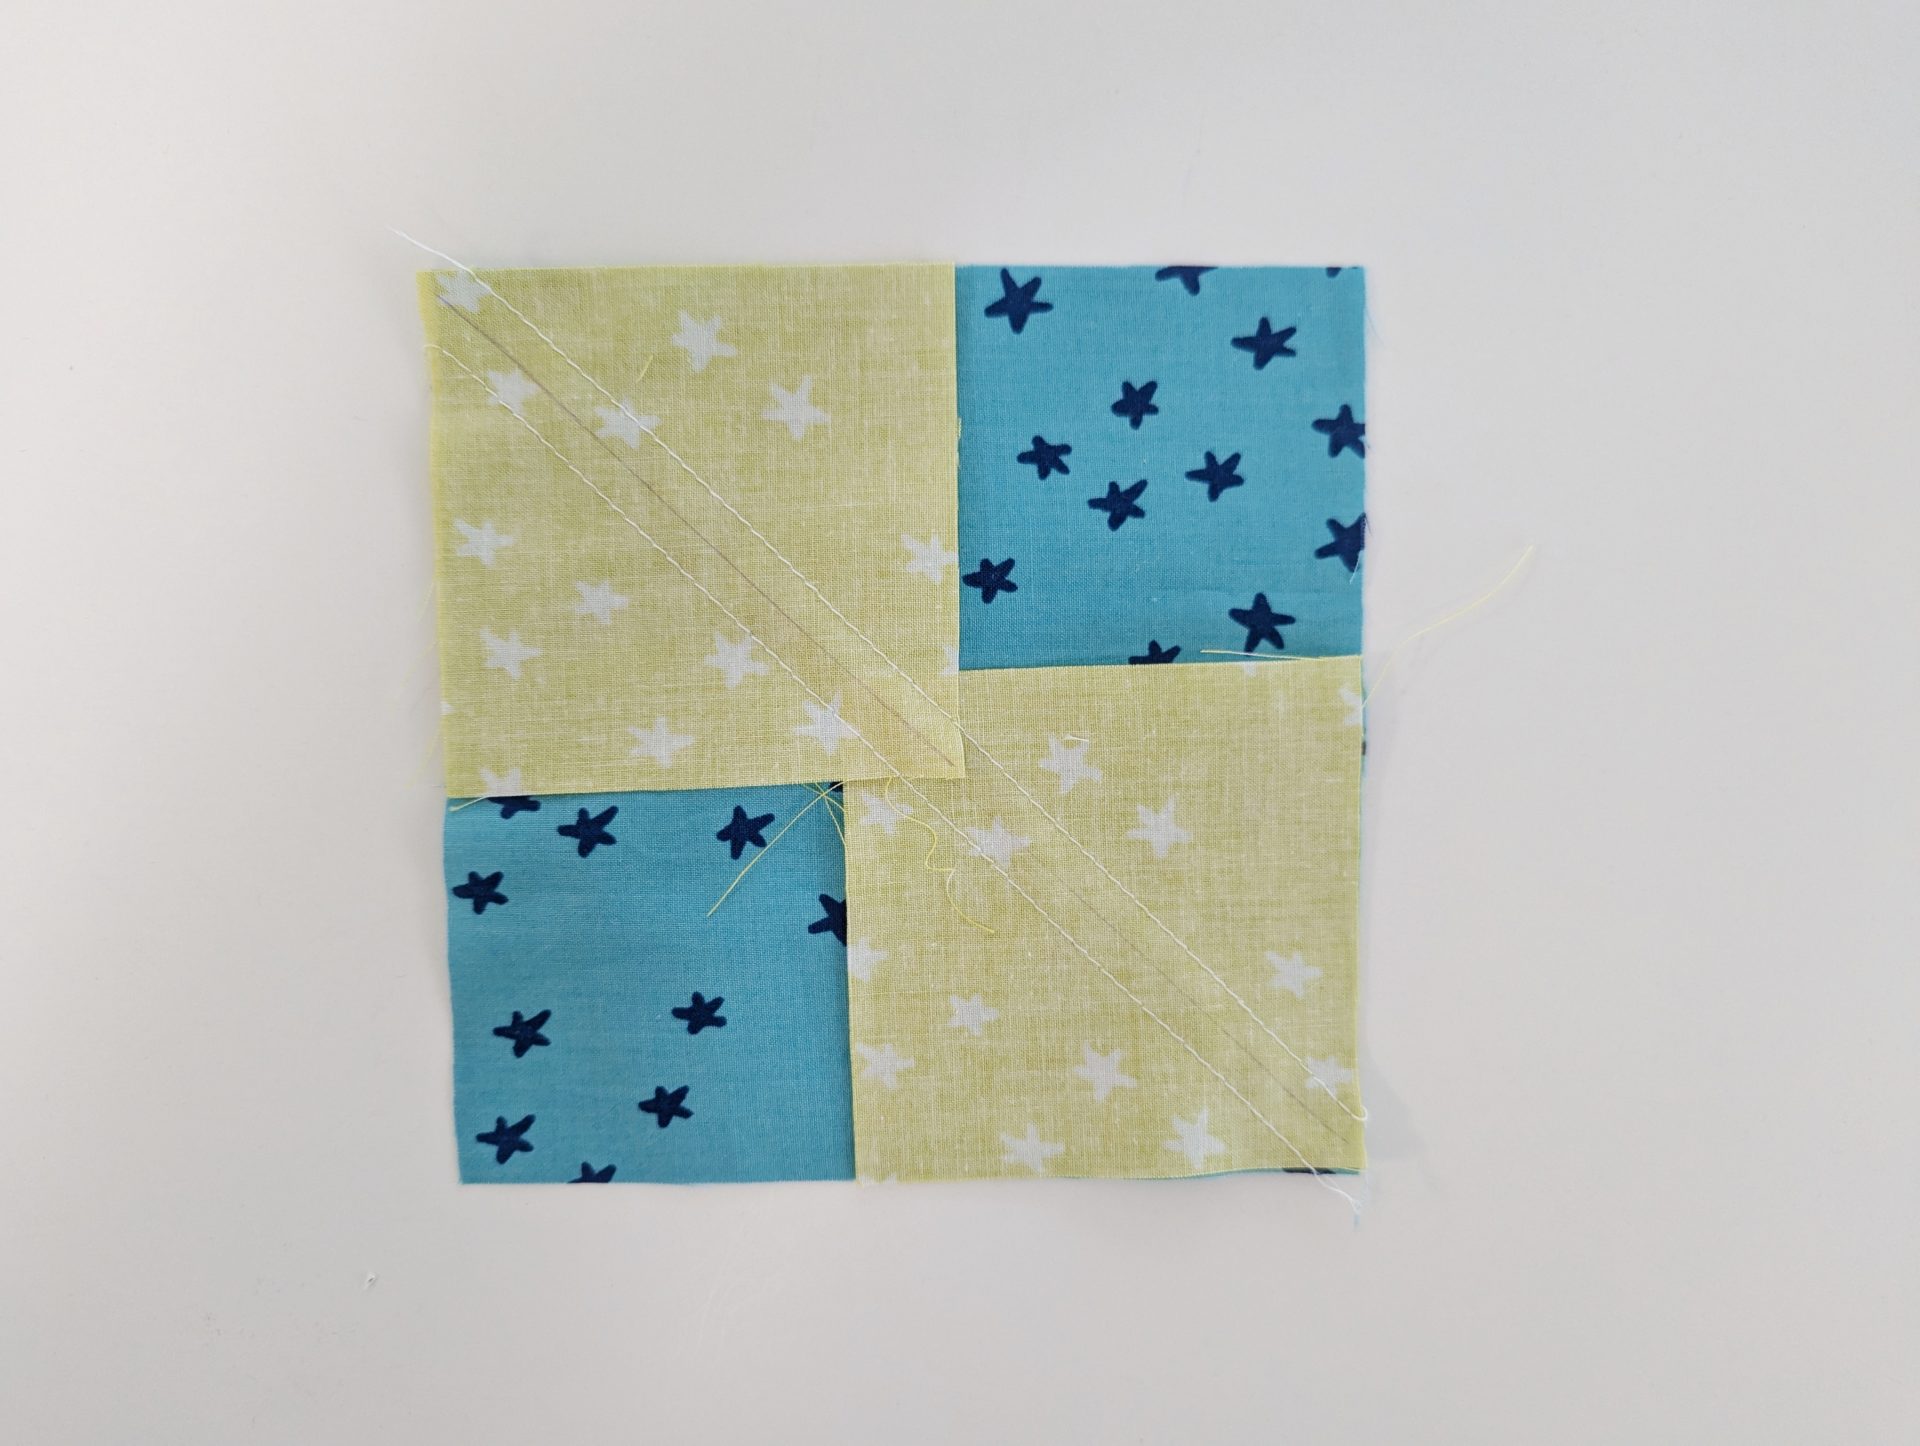
- Place two smaller squares in opposite corners of the larger square, right sides together. Draw a diagonal line from corner to corner across the smaller squares.
- Sew ¼” on both sides of the drawn line, then cut along the line. Using a rotary cutter and ruler, cut on the line.
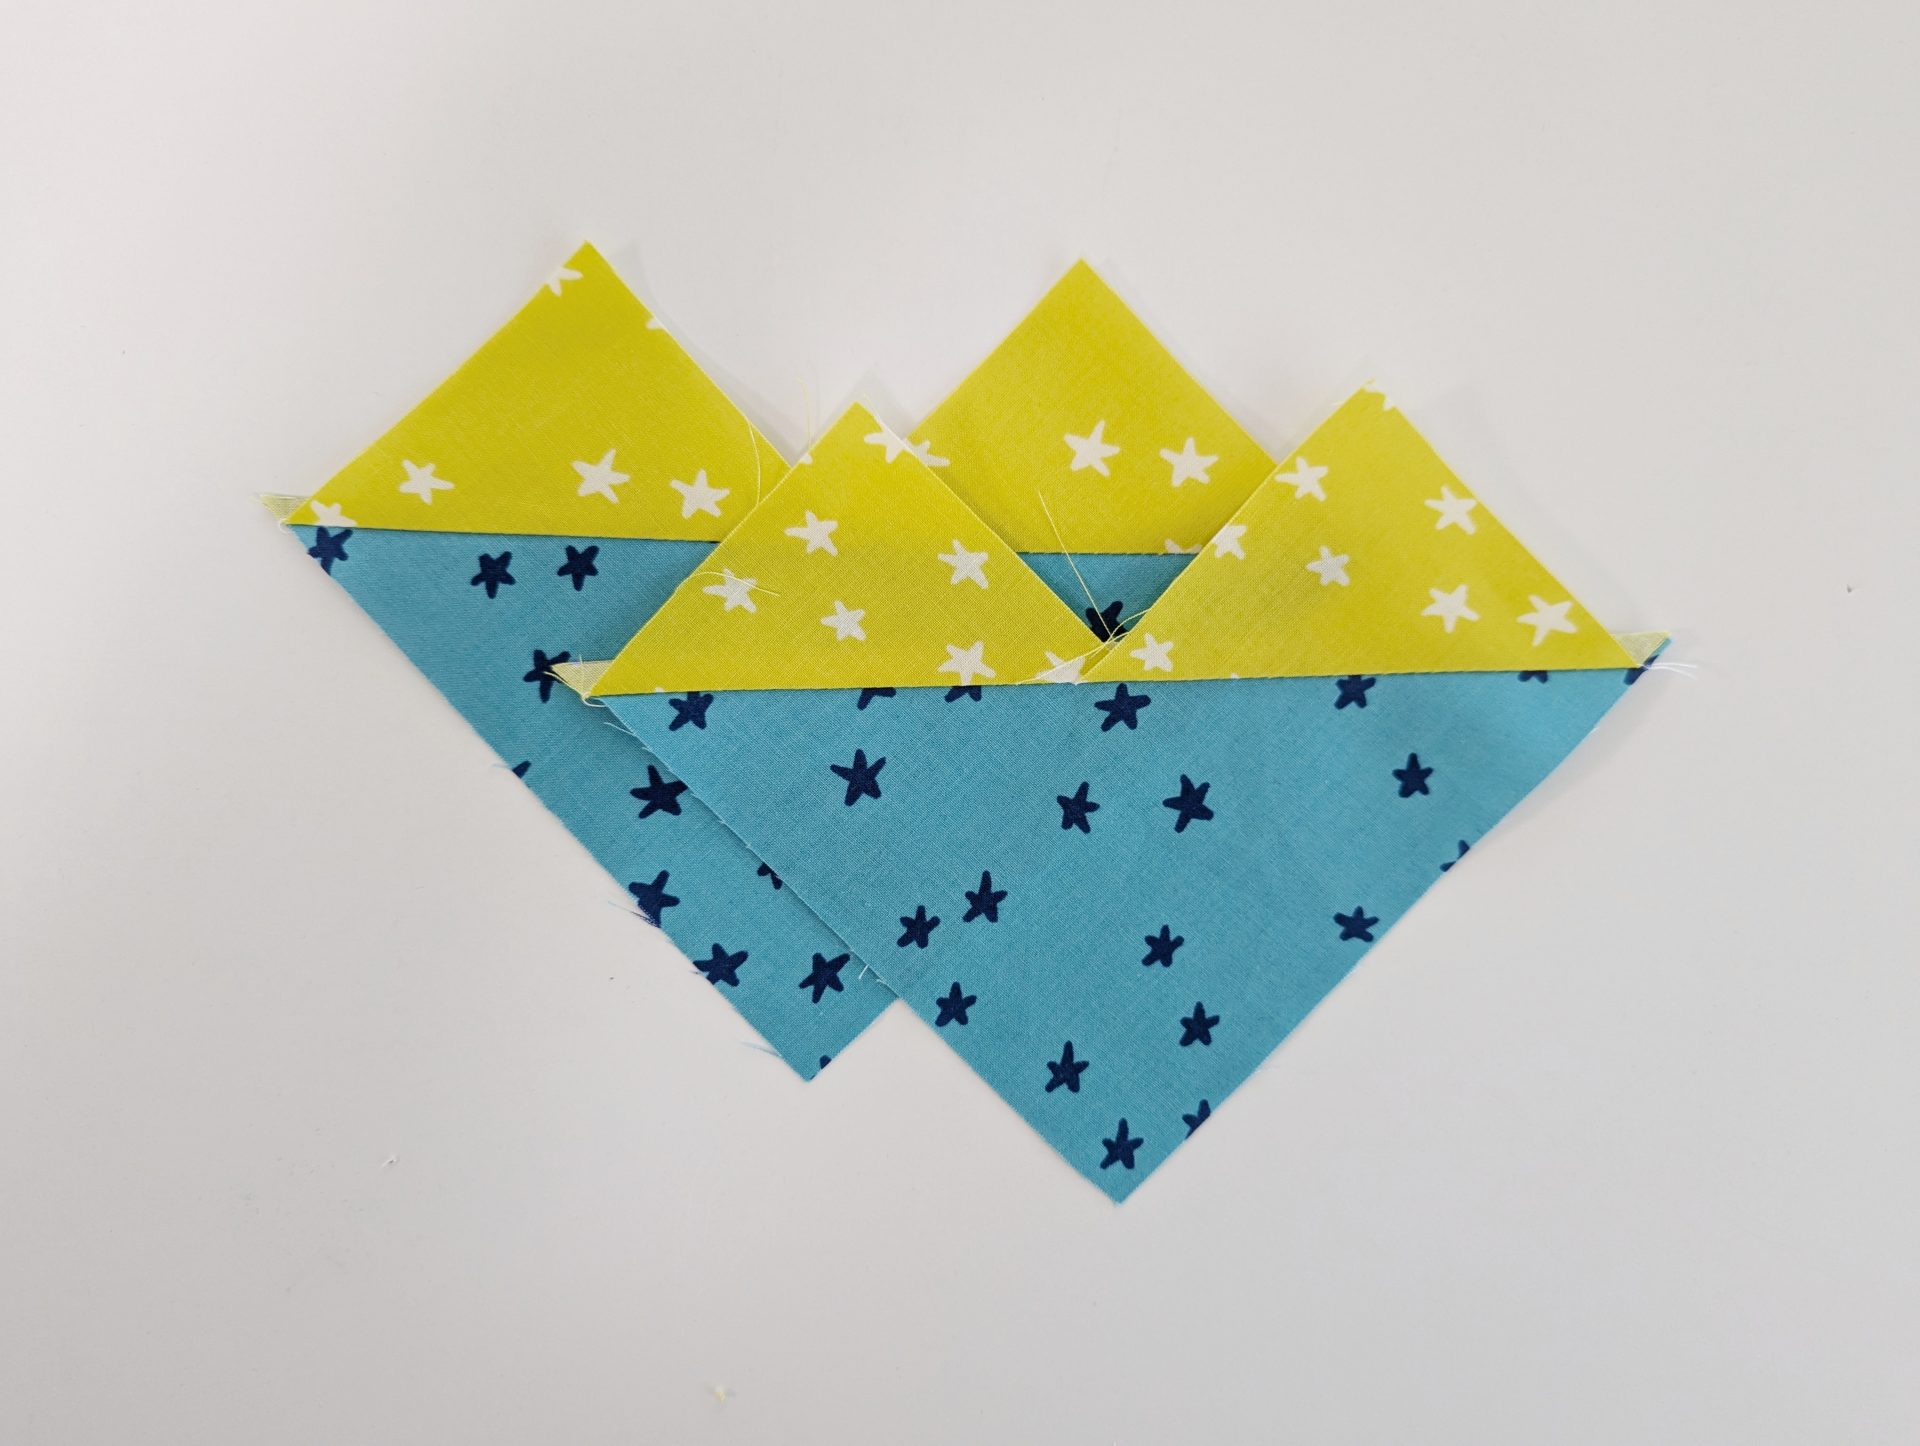
- Press the smaller triangles up and away from the larger triangle. Place another smaller square on the open corner of each piece and repeat the process—sewing ¼” on both sides of the diagonal line, then cutting along the line.
- Press again, and voilà! You now have four Flying Geese units.
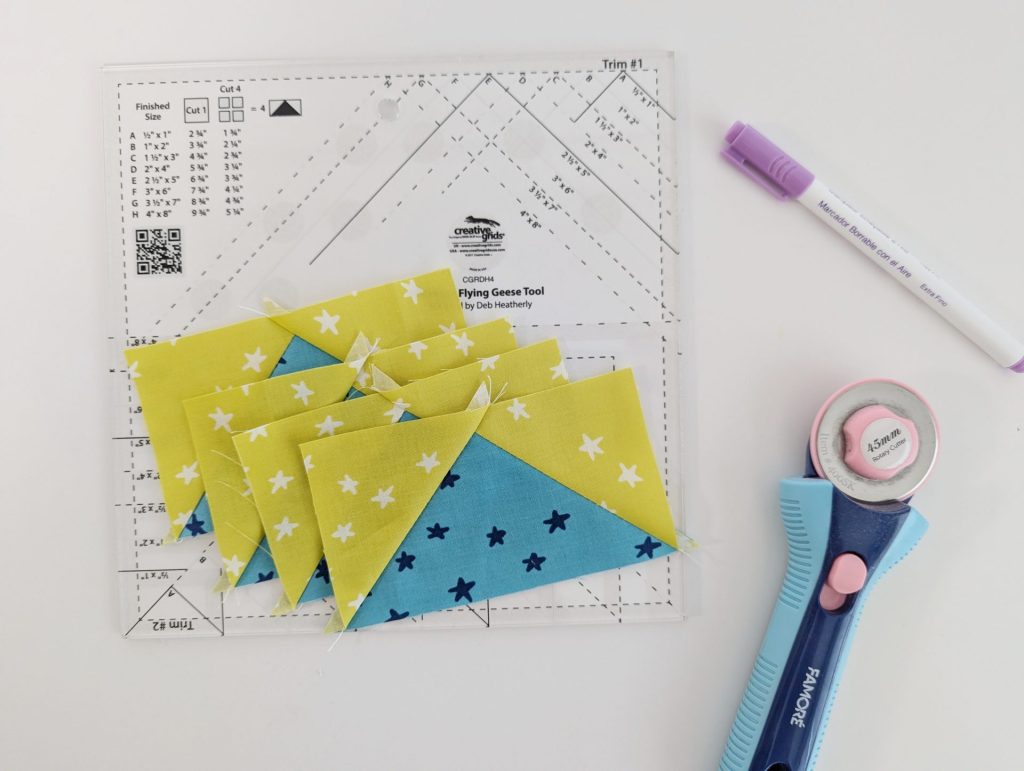
Don’t forget to use the Creative Grids ruler to trim your units to perfect size. The ruler has markings for trimming the units down to a consistent shape, making the whole process faster and more accurate.
Which Method is Right for You?
Both methods have their strengths. If you’re working on a small project or using up scraps, the Stitch and Flip method is a great choice. However, if you’re making a quilt that requires a large number of Flying Geese, the 4-at-a-time method is the most efficient way to go.
Flying Geese are an essential part of many quilt designs, offering endless possibilities for creativity. Whether you prefer the satisfaction of piecing each unit individually or enjoy the speed and precision of batch-making them, the Flying Geese block is a fun, versatile, and timeless addition to your quilting repertoire.
What’s your favorite way to make Flying Geese? Let me know in the comments!
Happy quilting!

Thank you for this, big help