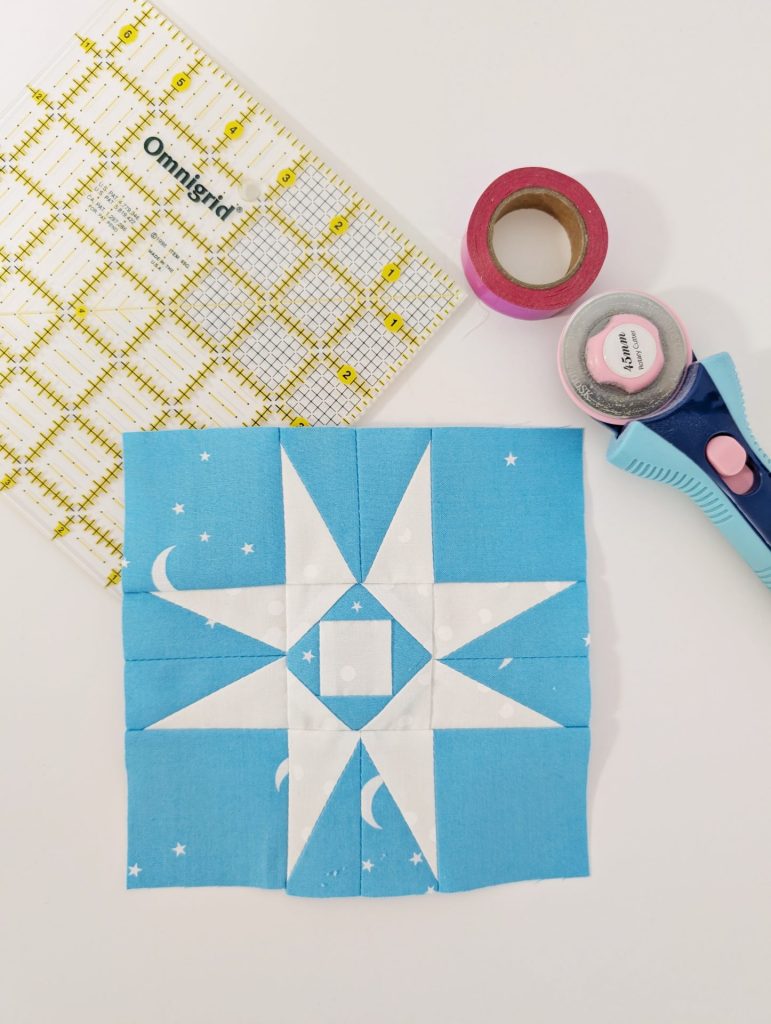
Winter is here, and there’s nothing quite as magical as the delicate beauty of a snowflake. To celebrate the season, I’m thrilled to share a free tutorial for a snowflake quilt block! Whether you’re adding a frosty touch to a winter-themed quilt, sprucing up your holiday decor, or simply looking for a fun new block to sew, this pattern is sure to delight. This snowflake block is perfect for quilters of all skill levels, and a great introduction to Half-Rectangle Triangles if you are new to them! So, grab your favorite wintery fabrics, and let’s create something truly special!
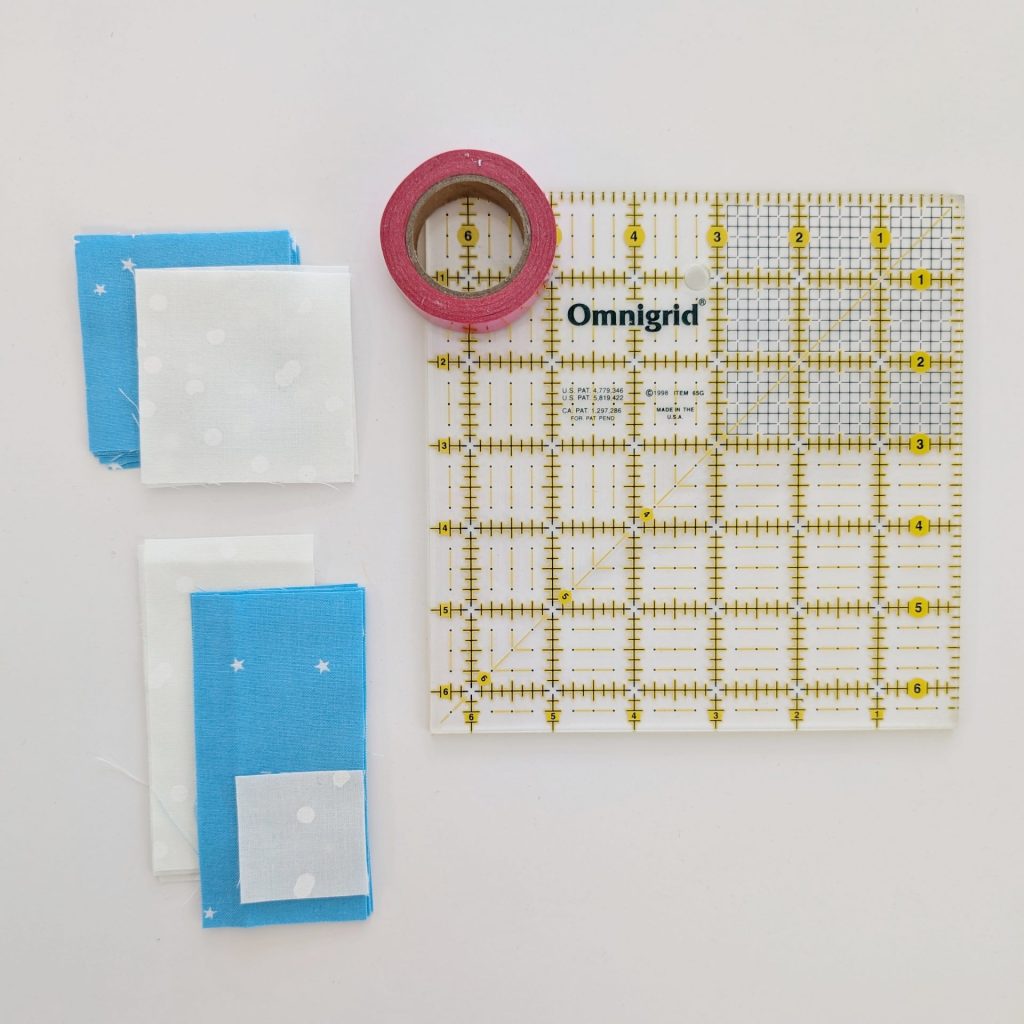
First up, you will want to gather your supplies. You will need the following for one 6″ (6.5″ unfinished) snowflake block:
- Background fabric:
- (4) 2.5″ squares
- (2) 2″ squares
- (4) 2″ x 4″ strips
- Snowflake fabric:
- (2) 2.5″ squares
- (1) 1.5″ square
- (4) 2″ x 4″ strips
- Small square ruler
- Washi tape
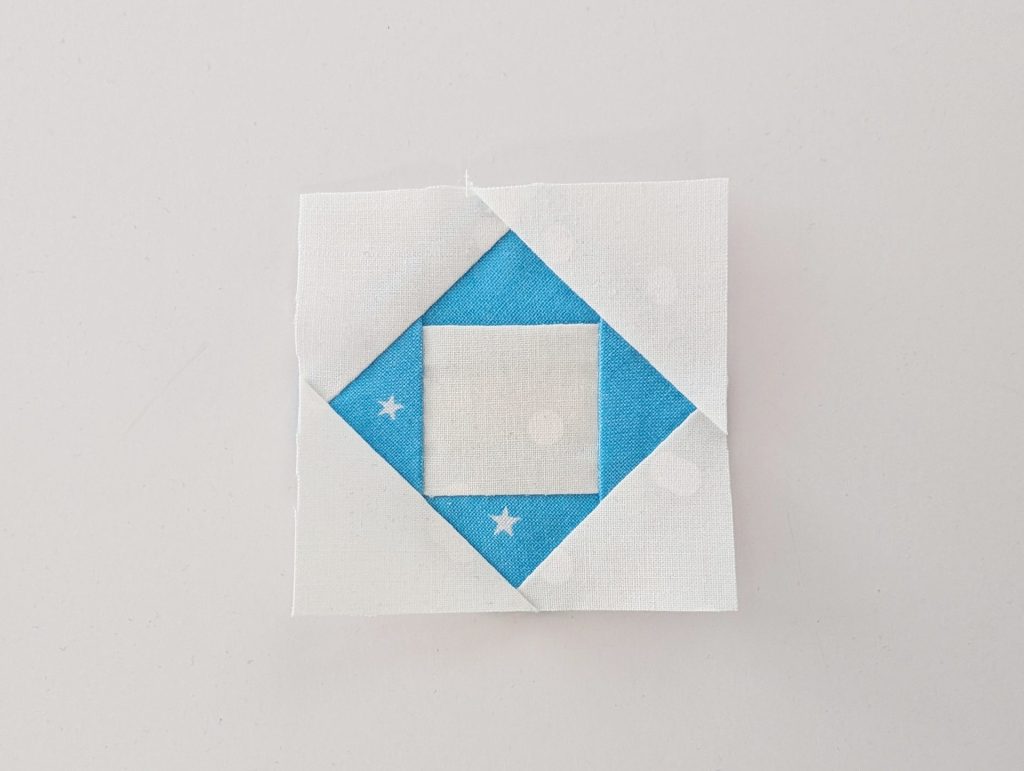
For the center Economy block, take one 1.5” square Snowflake fabric (center square) and two 2” Background fabric (sides) triangles (created by cutting one 2.5” square on the diagonal), RST. Sew ¼” away from the diagonal on both triangles. Press triangles to the outside.
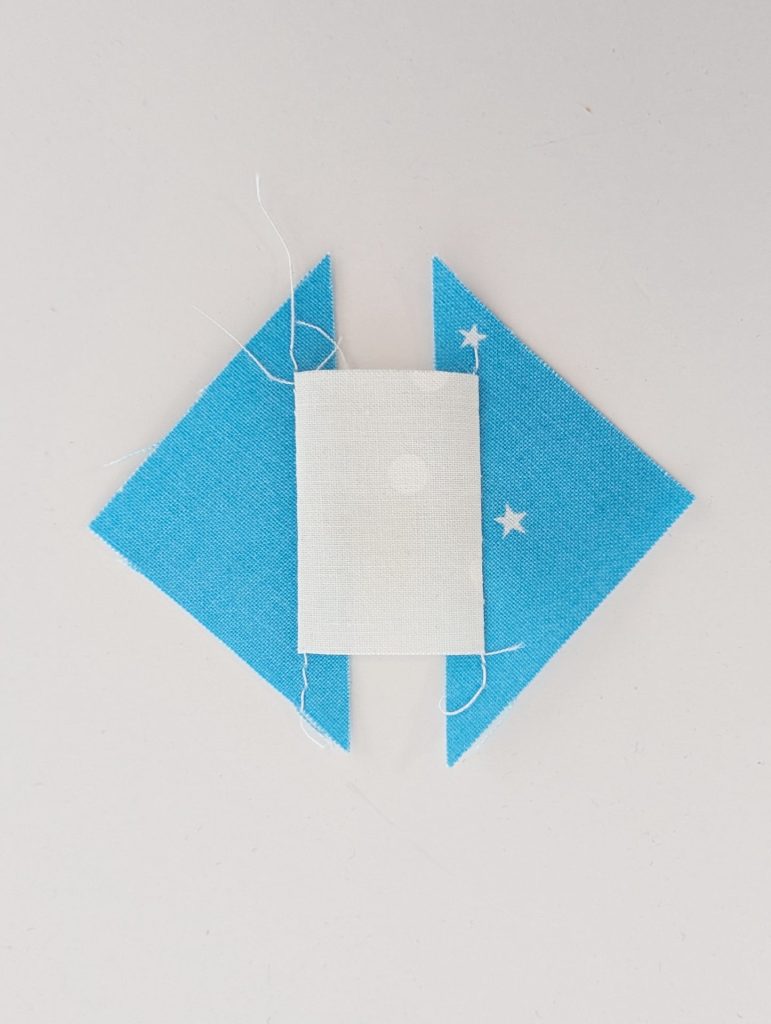
Trim dog ears.
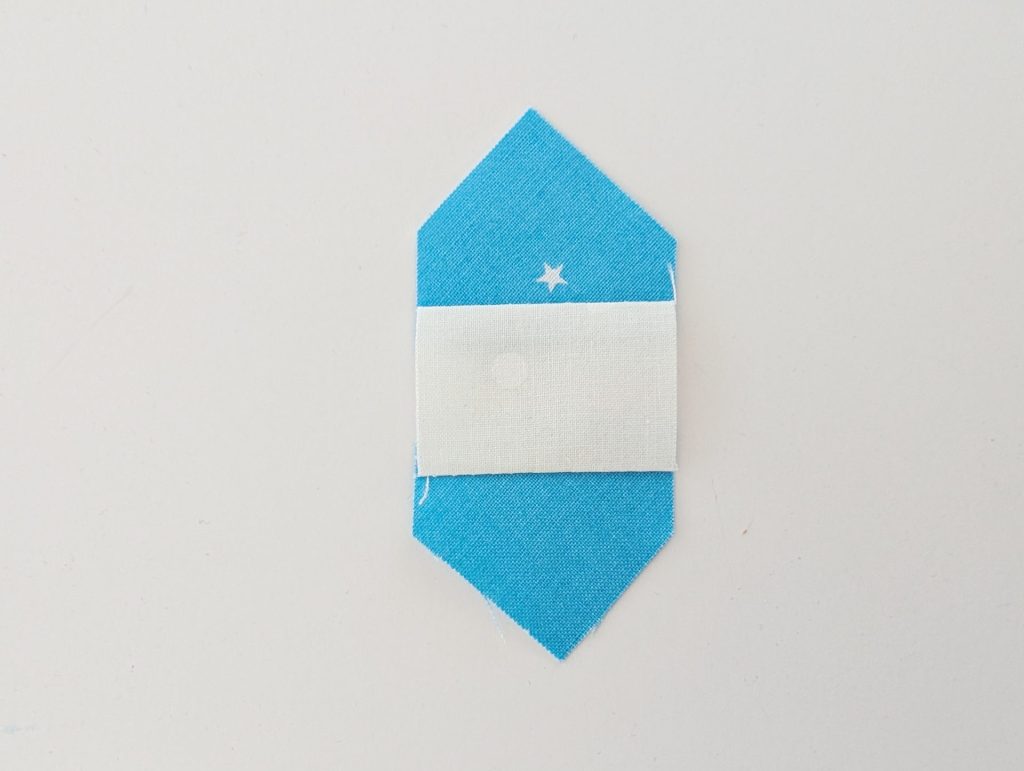
Repeat with two more 2” Background triangles. Press triangles to the outside.
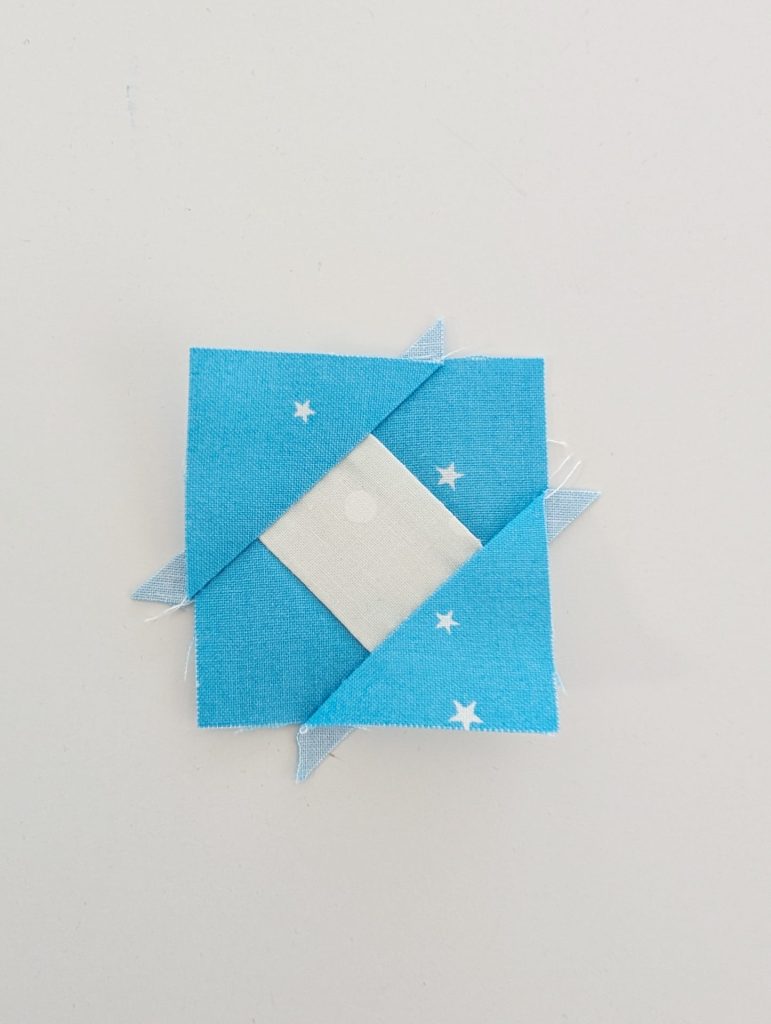
Trim to 2″ square.
Repeat steps with 2.5″ Snowflake triangles. Trim final unit to 2.5″ square.
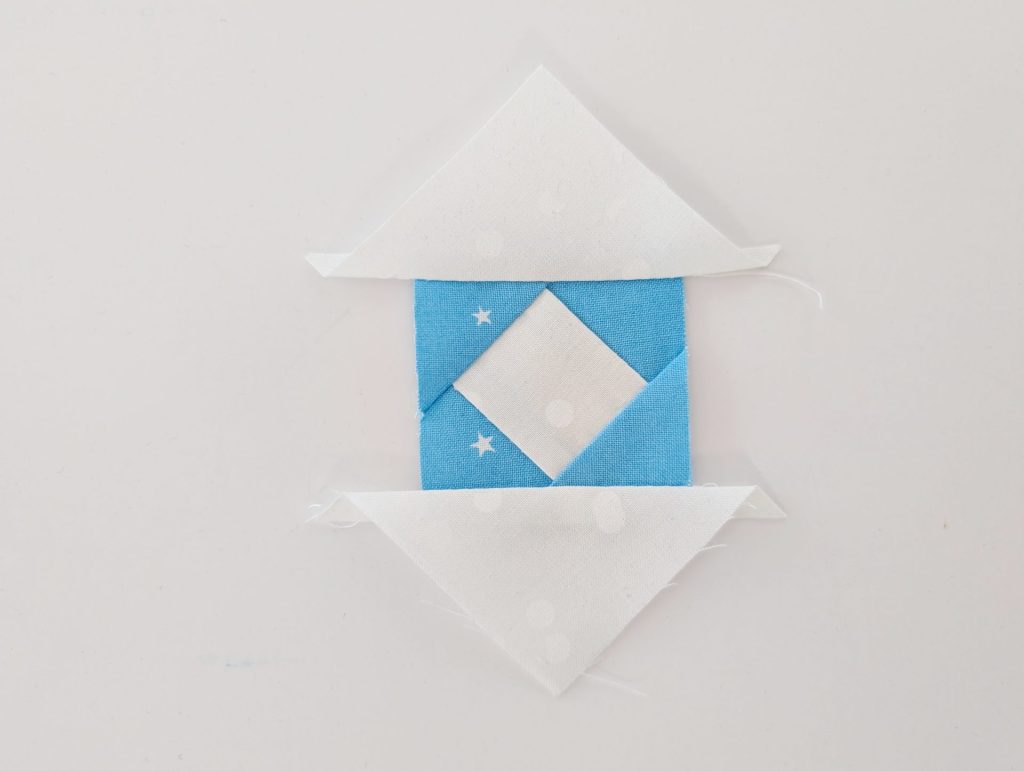
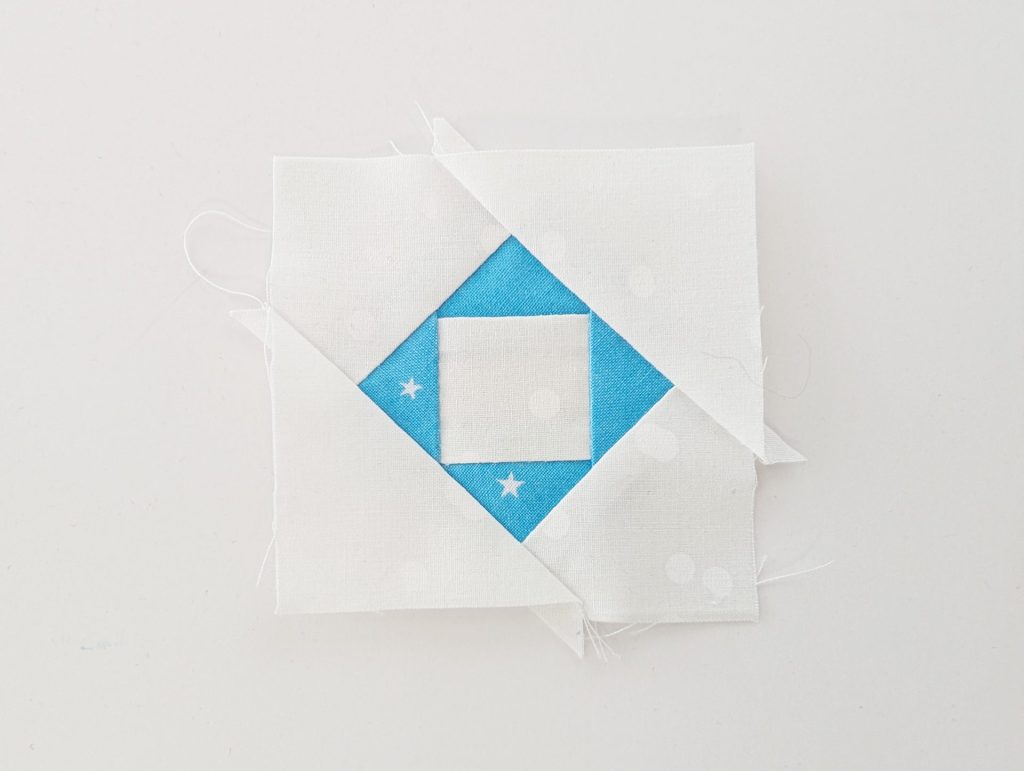
Next up, we will construct our half-rectangle triangles!
Take one 2” x 4″ Background fabric and one 2” x 4″ Snowflake fabric and mark opposite diagonals with a disappearing pen. Place the two fabrics RST as shown below.
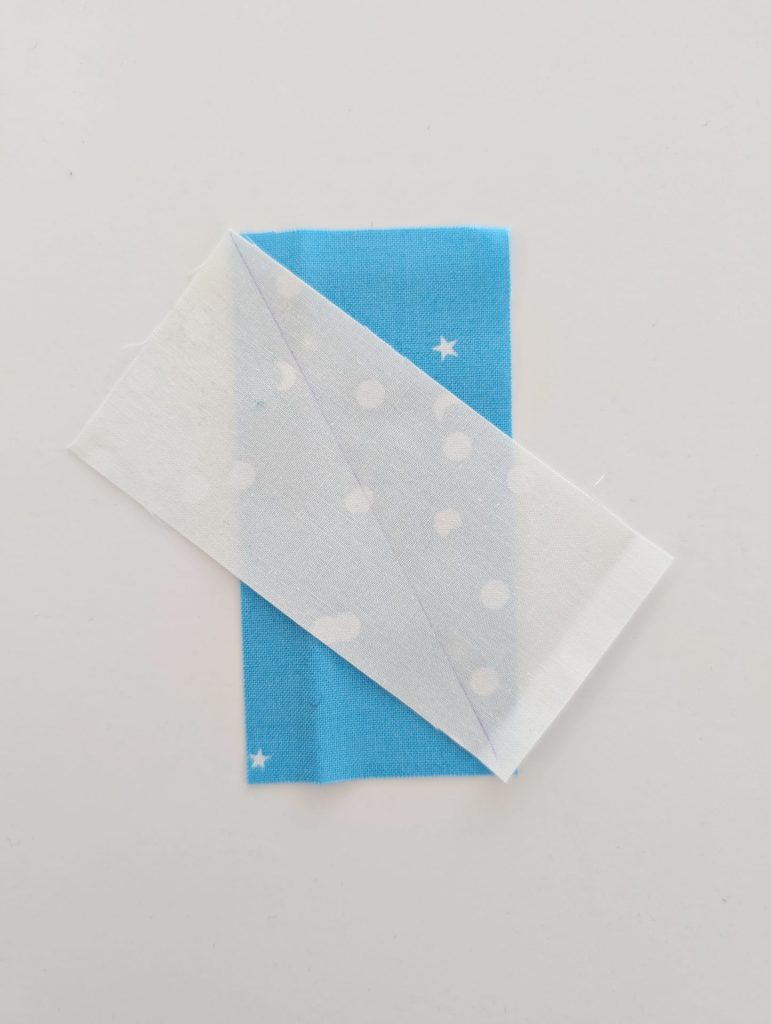
Sew ¼” away from the diagonal on both sides. Repeat with the other rectangle pairs, alternating the diagonal each time so that you have two “right” and two “left” subunits.
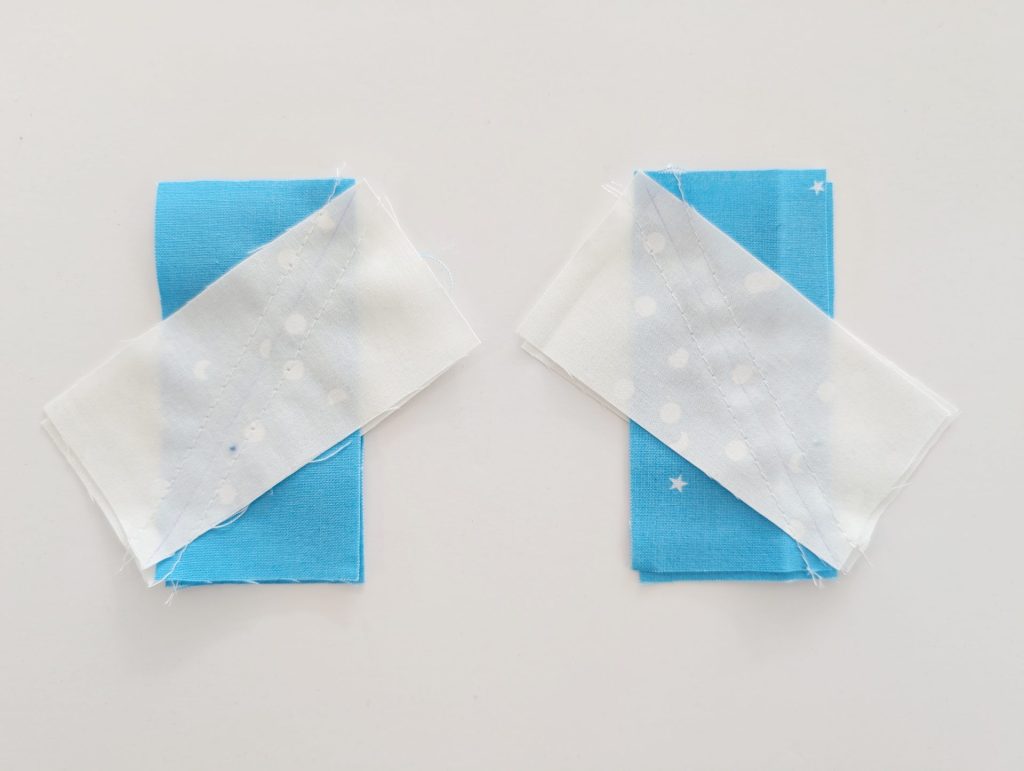
Cut the fabric on the marked line and press each piece, pressing seam open.
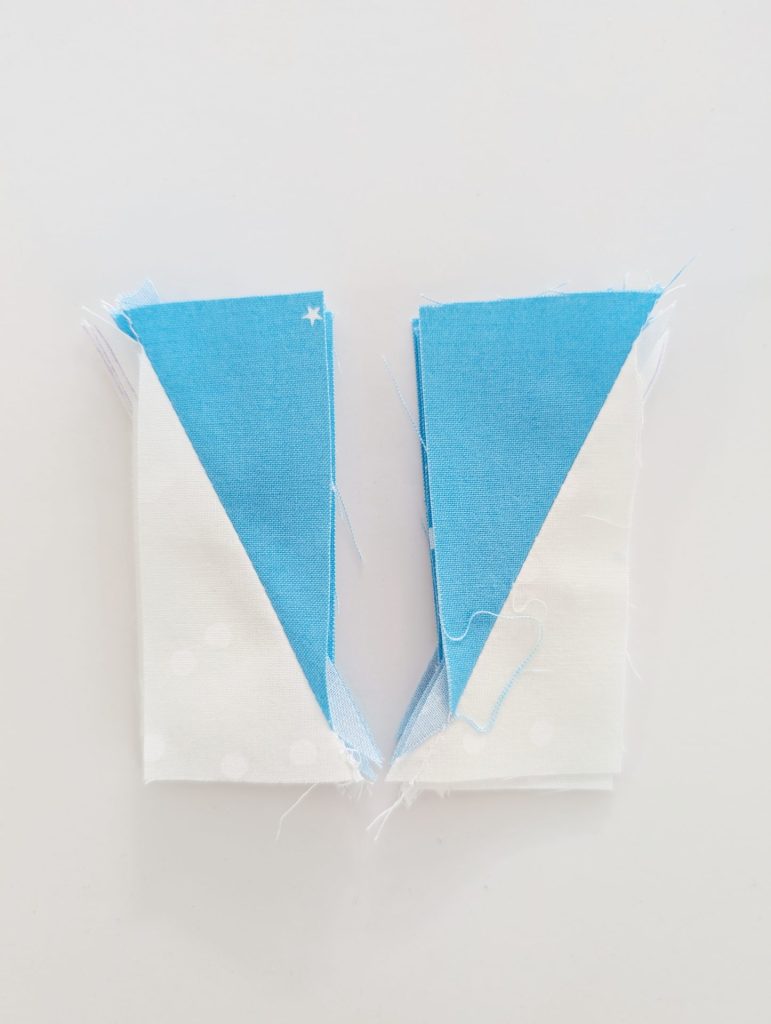
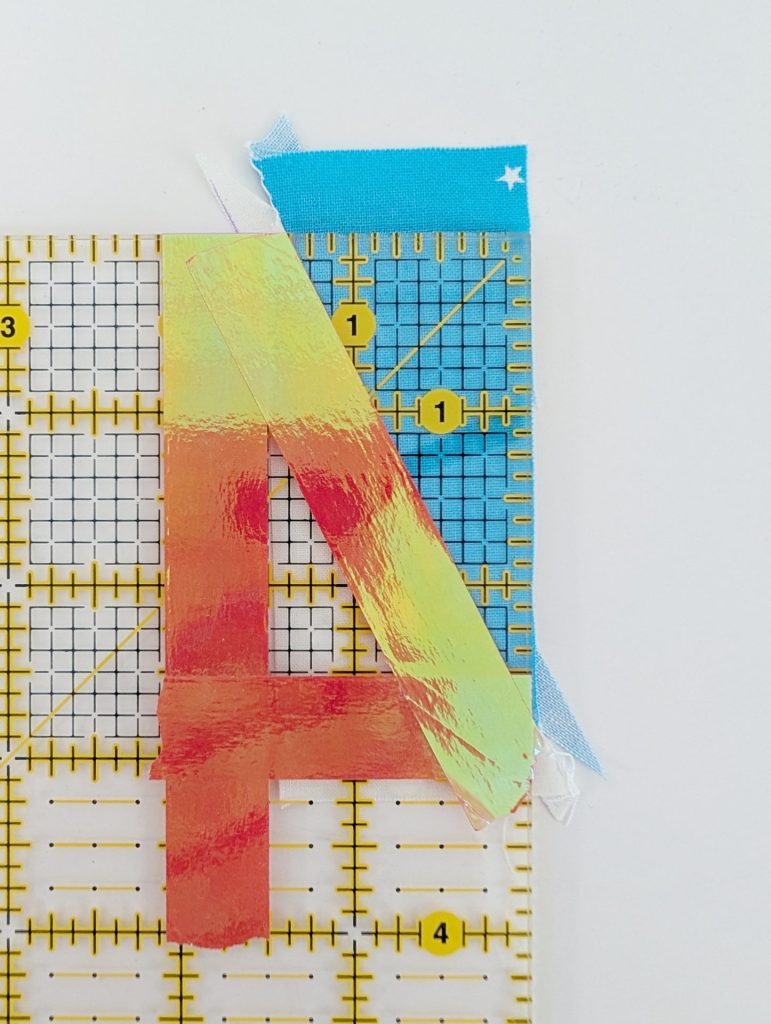
To trim your HRTs, take your square ruler and your washi tape, and mark off a 1.5″ x 2.5″ rectangle (your final trim size).
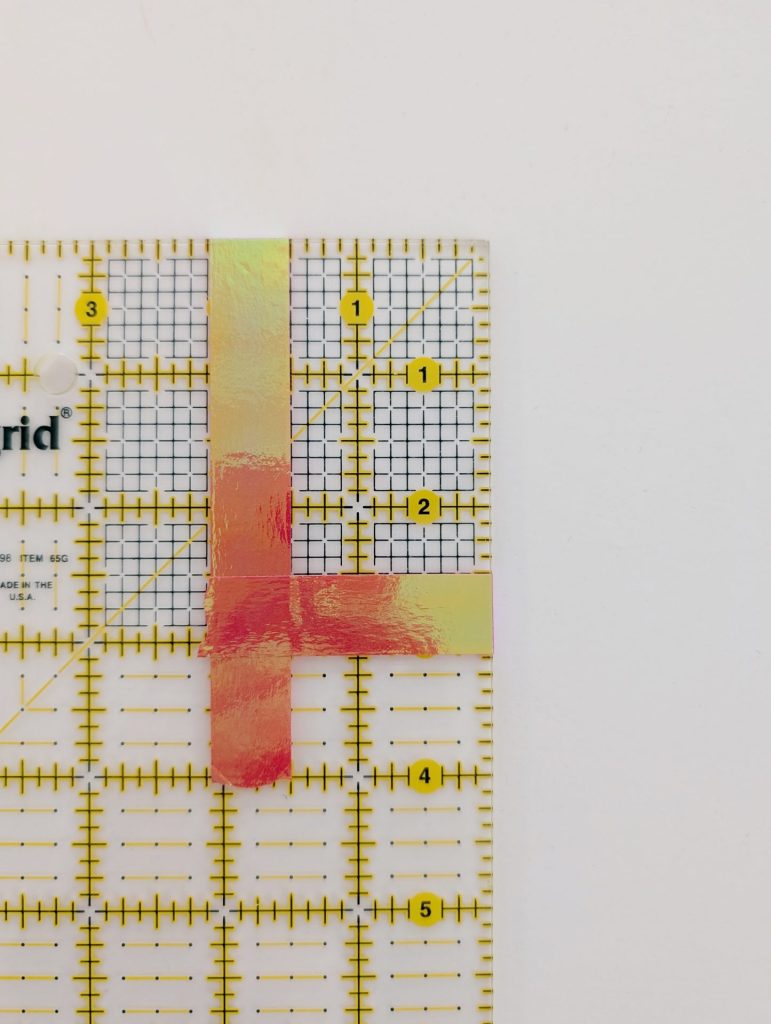
Next, to get your corners perfect, you’ll want to mark a line from the (¼”, ¼”) and (1 ¼”, 2 ¼”) points on your ruler. This is where your HRT diagonal should be when you do your trimming.
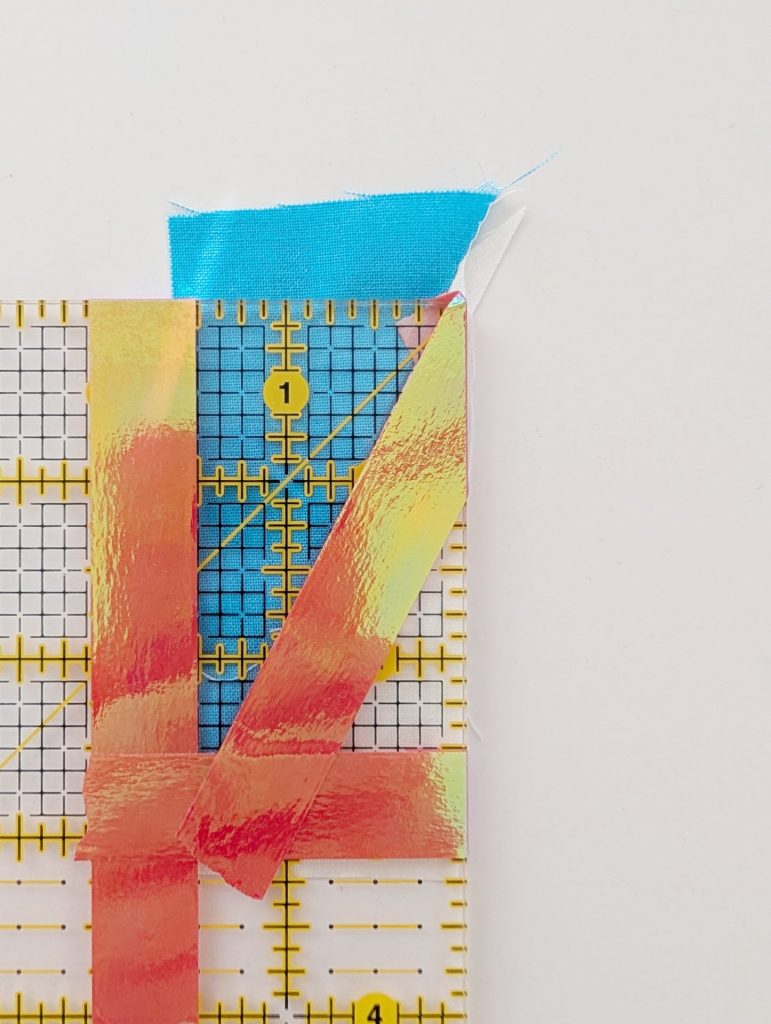
Line up your HRT, making sure the 1.5″ x 2.5″ rectangle has fabric entirely underneath it, and trim the top and right sides. Rotate your HRT and trim again.
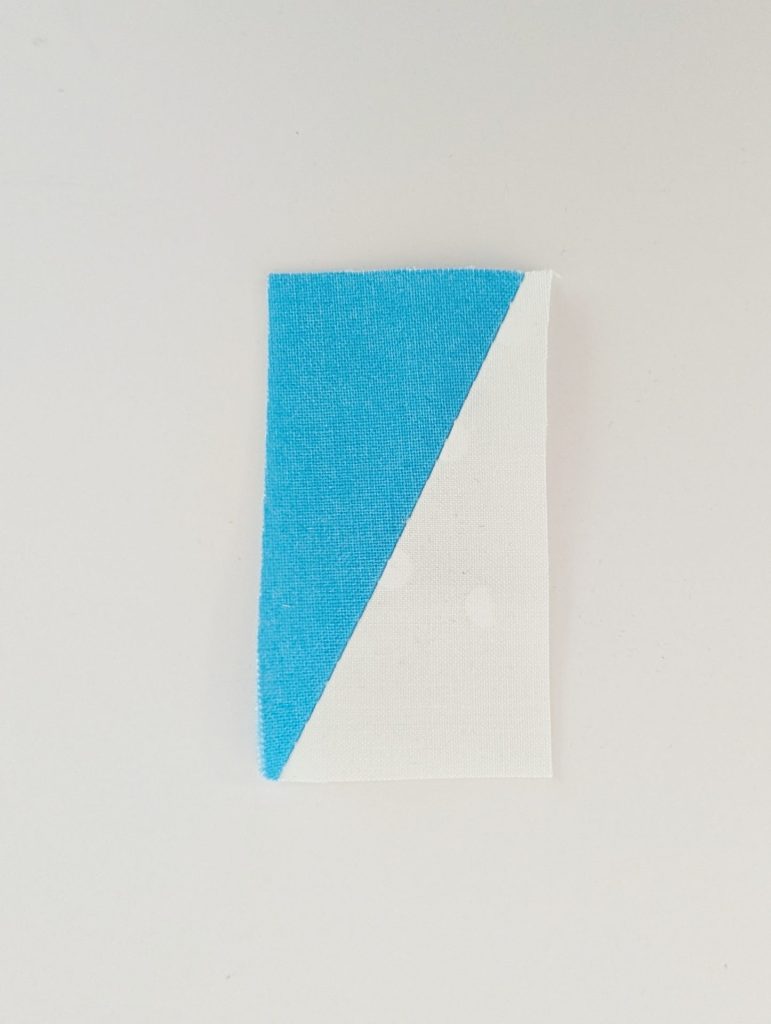
The reason that we trim these in such a weird way is because of where the final seams will be. Each seam for the finished subunit will be ¼” inside the subunit, so your points need to be lined up on that ¼” line:
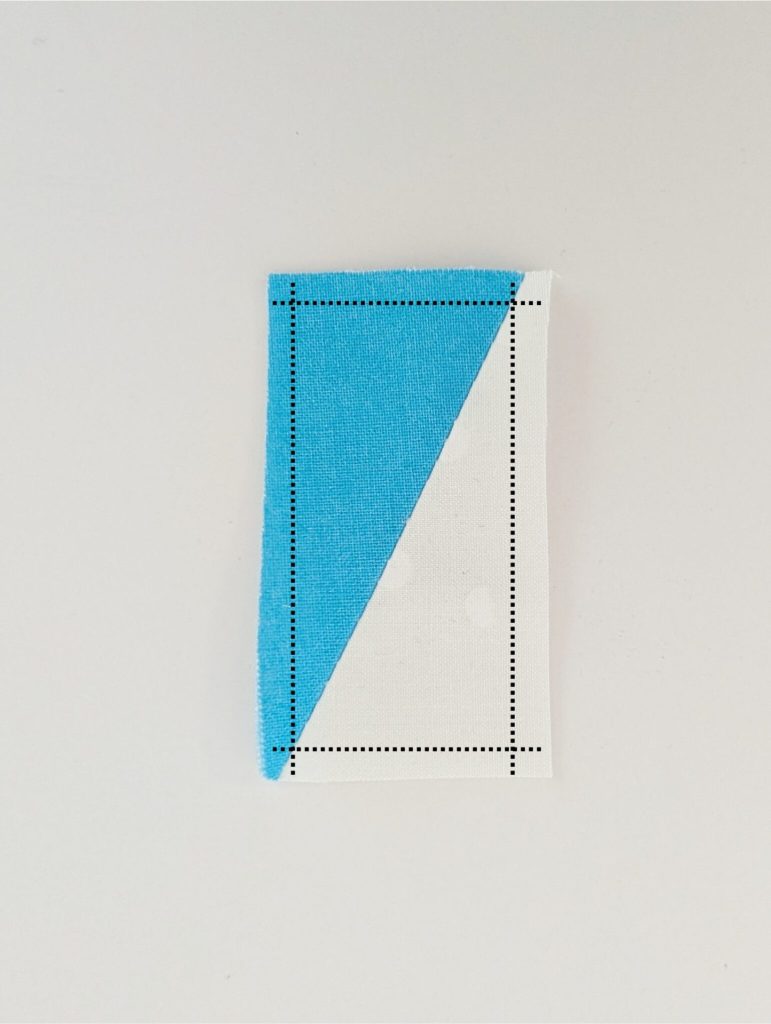
Trim your subunits with this diagonal angle. Then remove and re-place your diagonal tape to mark the line between the (1 ¼”, ¼”) and (¼”, 2 ¼”) points. Trim the rest of your subunits.
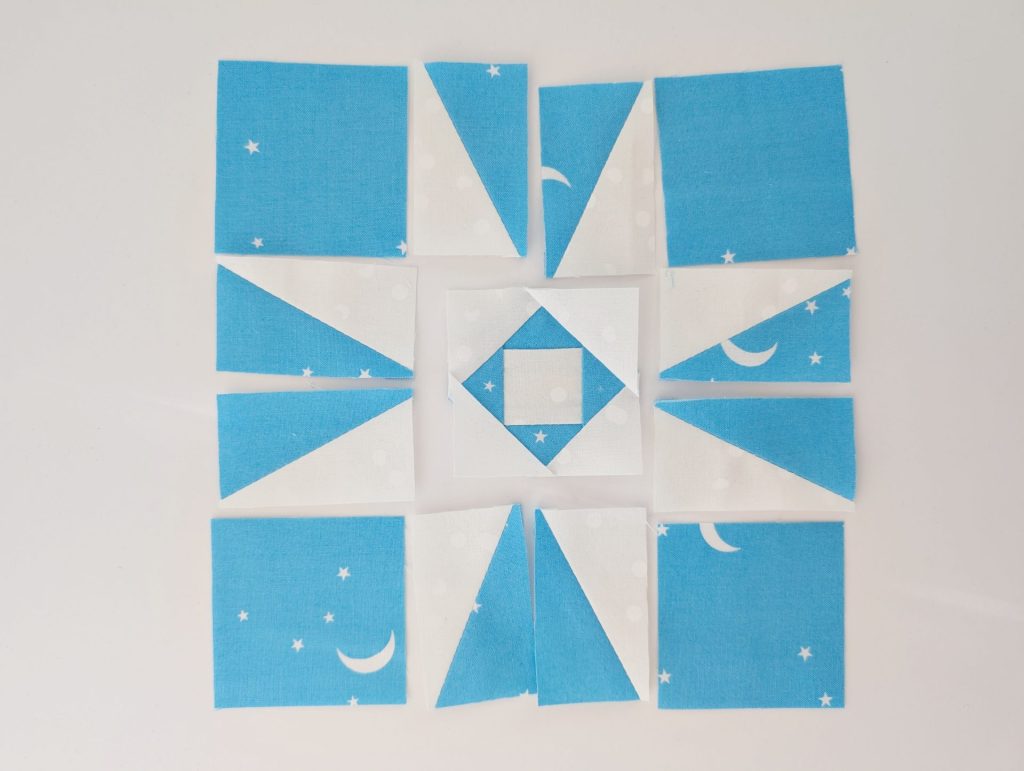
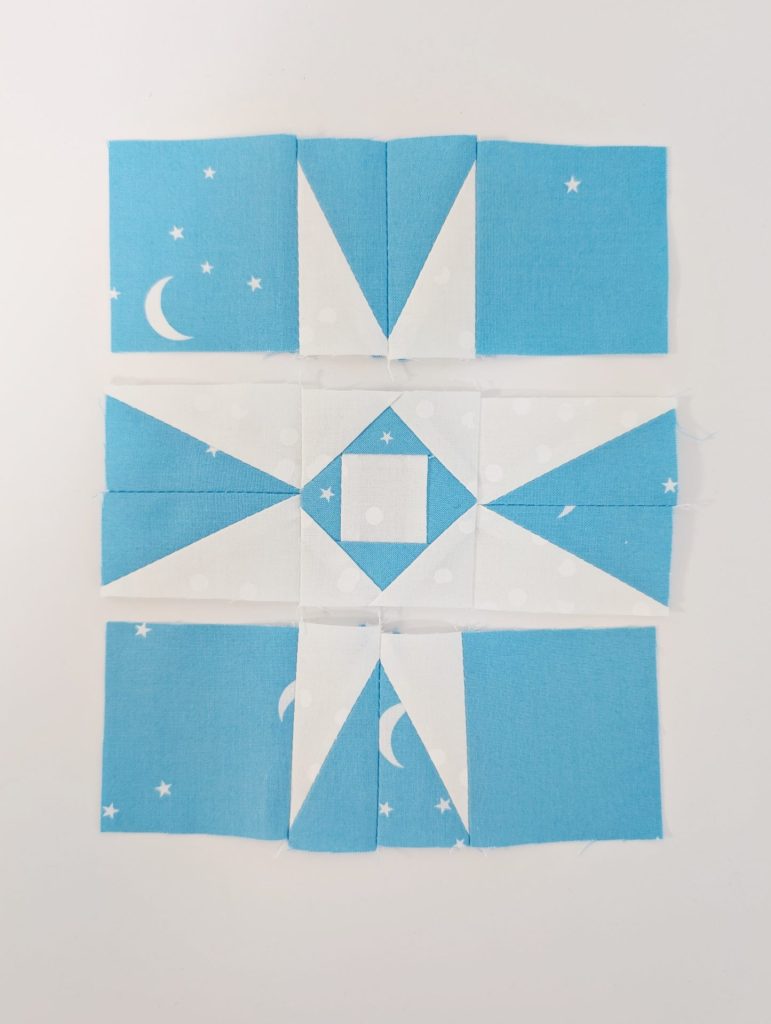
Lay out HRTs, Economy Block center, and remaining squares as shown in the diagram. Sew units together into rows, and finally sew rows together. Final block will measure 6 ½” square.
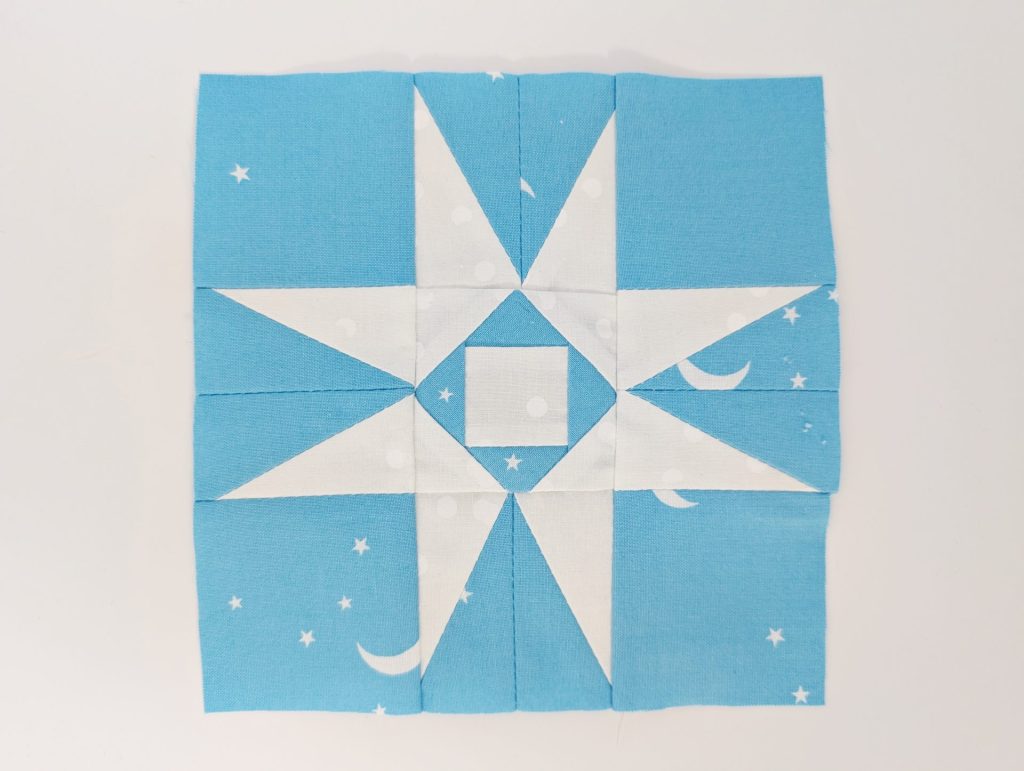
There’s something so satisfying about turning fabric into intricate shapes, and this snowflake quilt block is no exception. Whether you use it as a standalone piece, repeat it for an entire quilt, or incorporate it into a larger project, it’s sure to add a wintery charm to your creations. I hope this tutorial inspires you to try something new and embrace the beauty of the season. Be sure to share your finished blocks—I’d love to see your unique snowflake creations! Stay cozy, and happy quilting!
