Your quilt backing is more than just the “back”—it’s a canvas for creativity. Whether you’re crafting a pieced backing or a fully reversible two-sided quilt, a thoughtful design can make your project unforgettable. This guide covers the essentials of quilt backings, tips for pieced designs, and how to create stunning two-sided quilts.
Quilt Backing Basics
The quilt backing anchors your project, holding the quilt top, batting, and backing together. While a single fabric piece is classic, pieced backings or two-sided quilts add personality and versatility. Choose durable, quilt-weight cotton or blends, ensuring the backing is 4-6 inches larger than the top on all sides especially if you plan to send it to a longarmer. Consider the quilt’s purpose and the recipient’s style to guide your design.
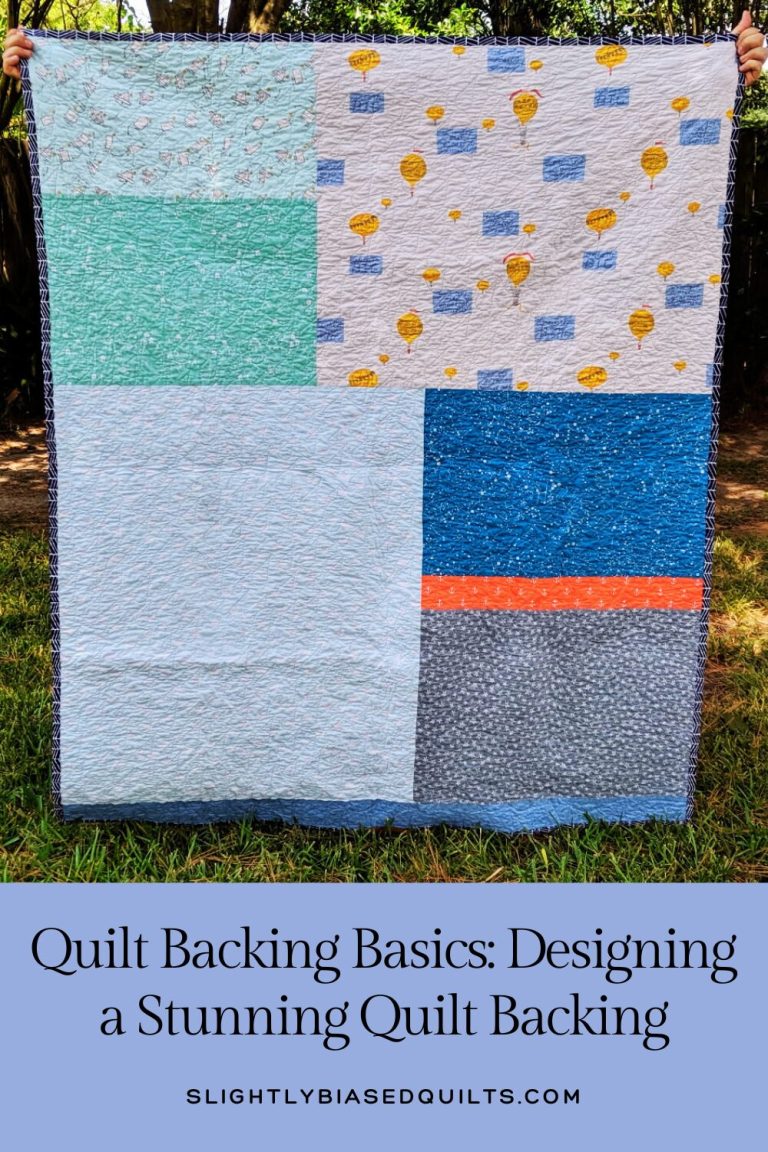
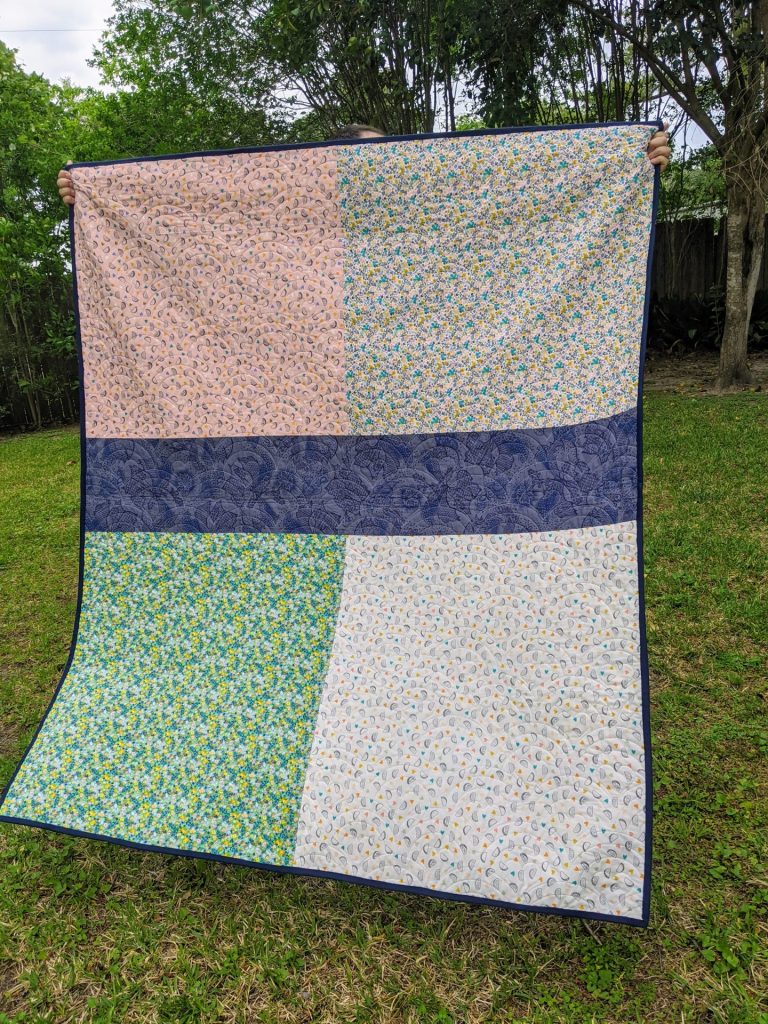
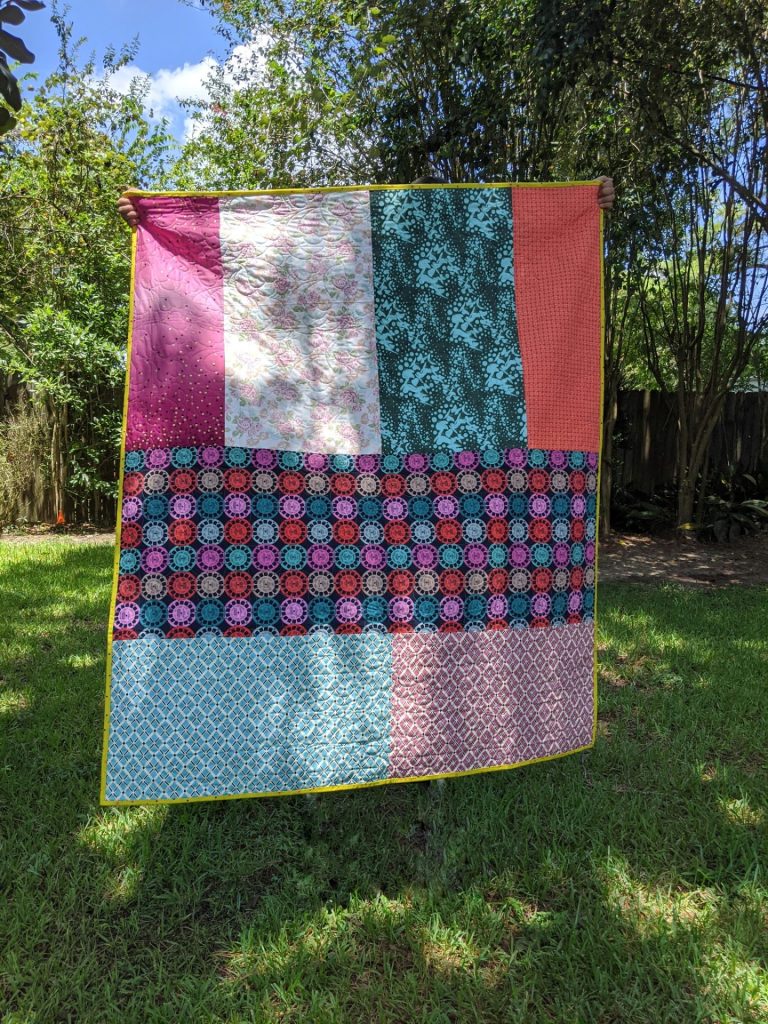
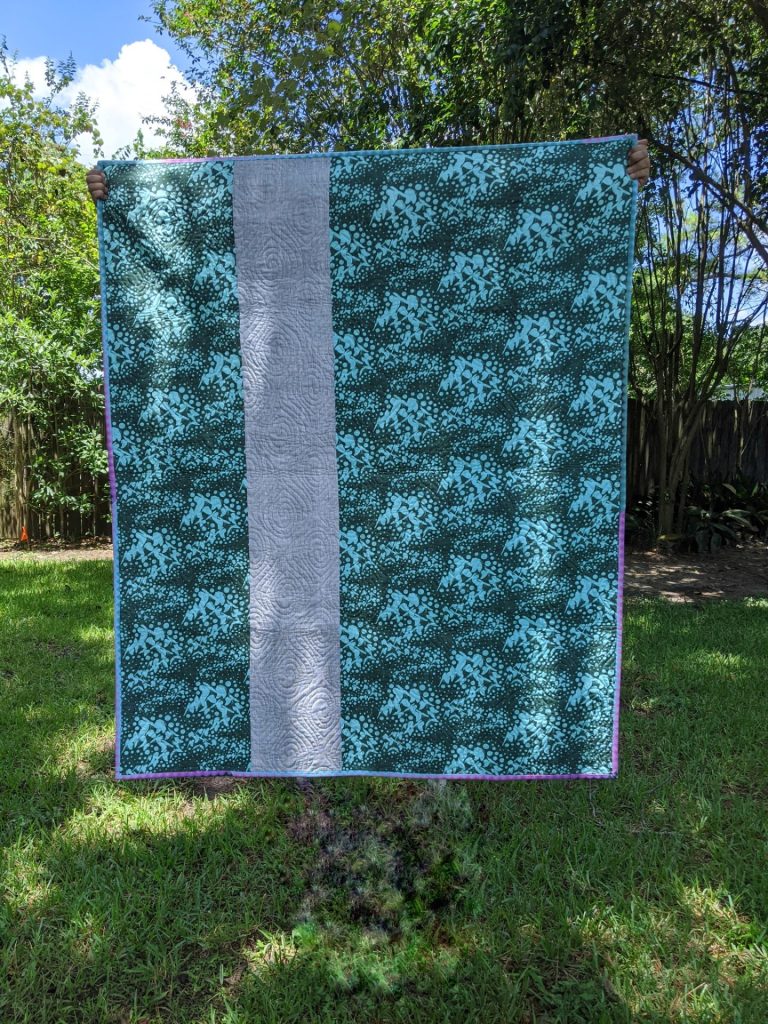
Crafting Pieced Backings
Pieced backings add flair and use up scraps. Here’s how to make them shine:
- Plan the Layout: Sketch a design that complements the quilt top, using large blocks or strips for simplicity or leftover blocks for cohesion.
- Match or Contrast: Echo the top’s colors for harmony or use bold contrasts for impact, like pairing a geometric top with improvisational piecing.
- Incorporate Meaningful Elements: Add personal touches like embroidered dedications or sentimental fabrics.
- Consider Quilting Needs: Avoid overly bulky piecing to ensure smooth quilting, and test on a practice sandwich.
Why Use Up Fabric Creatively?
Before we dive into piecing techniques, let’s talk about the beauty of using leftover or stash fabric in your backing:
🌿 Eco-Friendly & Budget-Conscious
Scrap-busting backings are a smart way to reduce fabric waste and get the most out of every inch you buy. That yard you didn’t know what to do with? Those extra blocks from a past project? They can all find a home on the back of your quilt.
🎨 Artistic Freedom
The back of the quilt gives you the freedom to play. Try bold color combos, improv piecing, or even experimental layouts that you wouldn’t attempt on the front. It’s the perfect playground for creativity.
💖 Sentimental Value
Using leftover fabrics from past quilts, family clothing, or special events brings extra meaning to your quilt. It turns the backing into a storytelling space, where memories are stitched into every seam.
Designing Two-Sided Quilts
Two-sided quilts feature two distinct quilt tops, offering versatility and double the impact. Here’s how to create one:
- Design Two Complementary Tops: Pair a bold front with a simpler back, using shared colors or themes for unity.
- Choose Reversible Quilting Patterns: Opt for all-over designs like stipples or grids that look great on both sides.
- Binding: Select a binding that suits both tops, or use a double-fold binding with different fabrics for each side.
- Label Thoughtfully: Include a reversible label or one for each side to tell the quilt’s story.
Overcoming Challenges
For two-sided quilts, ensure even quilting tension by practicing on scraps. Embrace imperfections as part of the handmade charm, and trust your skills to create something extraordinary.
A stunning quilt backing—whether pieced or fully reversible—adds depth and meaning to your work. Share how you transform the “back” into a work of art. Happy quilting!
Thank you for this posting! Marvelous and much needed information. Stunning yet personal and cozy backings! Removes all mystery, and opens, supports, and sustains doors and windows to individual creativity. This is exciting! Cannot thank you enough for sharing this. Happy Summer ️ Happy Quilting