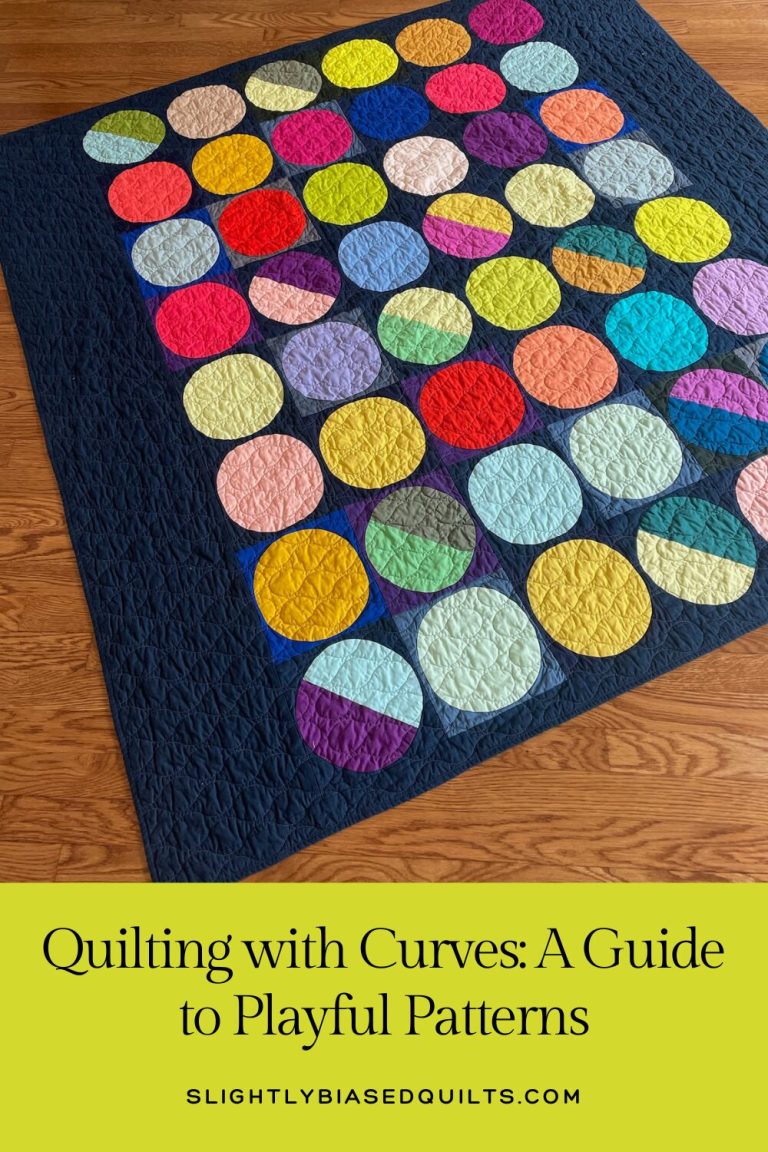
Curves in quilting bring a sense of motion, elegance, and joy that straight lines just can’t capture. They swirl, they dance, and they infuse your quilt with an irresistible energy. And yet—for many quilters—curved piecing feels like a scary leap into the unknown.
Believe me, I feel the same way. Things that might swirl through your head as you sew your first curve: What if it puckers? What if it didn’t line up? What if I just ruined two perfectly good pieces of fabric? Just breathe…We are going to cover how to tackle all of these.
Here’s the secret: curves are not only totally doable, they’re also fun. With a few simple techniques, a bit of practice, and a dose of courage, you’ll unlock a whole new world of creativity. This beginner-friendly guide will help you get started with confidence—and maybe even fall in love with curves.

Mastering the Art of Sewing Curves
Curved piecing doesn’t have to be mysterious. Here are a few tried-and-true tips that will make your curve-sewing experience smoother—and much less stressful.
✂️ Use Plenty of Pins
Curves are naturally prone to shifting, especially on tight arcs. Match the center points and edges of your pieces, then pin every 1–2 inches along the curve. Don’t skimp on pins—it’s like building a road map for your fabric to follow.
🧵 Go Slow and Steady
Speed isn’t your friend here. Set your machine to a slower pace, use a ¼-inch seam allowance, and reduce your stitch length to around 2.0 mm. Sew slowly and deliberately, removing pins as you go. You’re guiding fabric into a gentle dance—not racing to the finish.
💡 Trust the Process
Curves can look awkward or even downright wrong before they’re stitched together. Don’t panic! Once sewn and pressed, those wonky-looking edges often line up into beautiful arcs. Press seams toward the concave piece (the one that curves inward) for a smoother finish.
✂️ Clip or Notch for a Smoother Lay
To reduce bulk and help your seams lie flat, clip into the seam allowance of concave curves or notch the convex ones. This allows the fabric to ease more naturally into its new shape.
🧶 Practice Makes Progress
Still nervous? Grab your scrap bin and practice! Try gentle curves, tight curves, and everything in between. Think of it like doodling with your sewing machine—you’re building muscle memory and confidence at the same time.
Remember: No quilt is perfect. Even the wobbliest curve has charm—and tells the story of a quilter who dared to try something new.
5 Creative Ways to Use Curves in Quilting
Once you get the hang of curves, the possibilities really start to open up. Here are five playful, beginner-friendly ideas that go beyond the classic rounded rectangle or Drunkard’s Path block:
🌸 1. Curved Appliqué Motifs
Try adding curves with appliqué—think swirling vines, flower petals, abstract waves, or even celestial shapes like moons. You can use raw-edge, fusible, or needle-turn techniques to create layered, whimsical designs. It’s like painting with fabric.
🌀 2. Curved Log Cabin Blocks
This is a twist (literally!) on a traditional log cabin. Special rulers are available to help you cut and piece these blocks, where strips curve gently around a center square. The result is bold, dimensional, and modern, with plenty of movement.
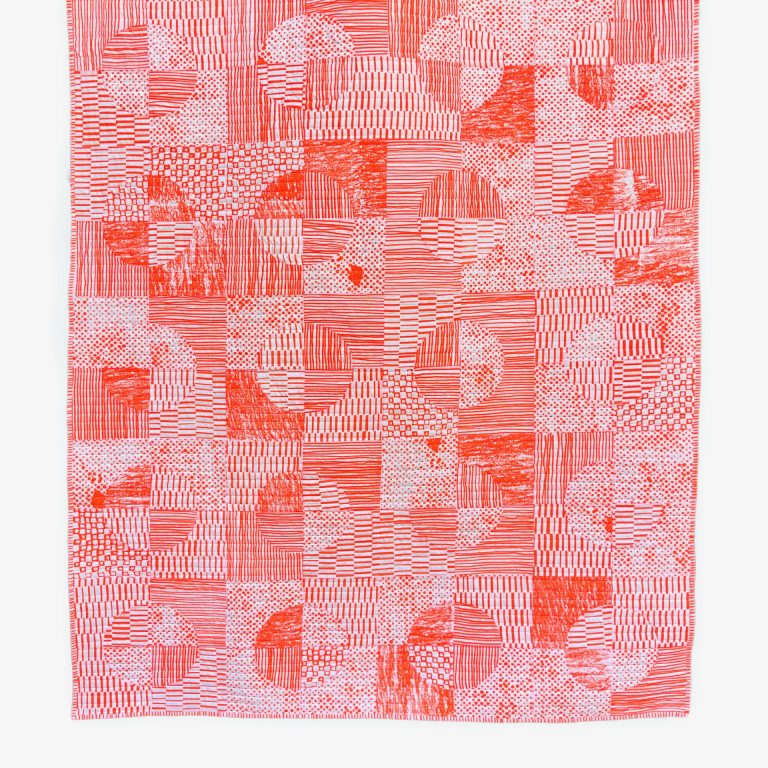
🎨 3. Improv Curved Piecing
Feeling adventurous? Toss aside the templates and try freehand cutting your curves! No measuring, no pinning—just you, your rotary cutter, and your creativity. The curves will be perfectly imperfect and utterly organic. It’s a liberating way to quilt.
🌞 4. Curved Medallion Quilts
Build a stunning focal point with a central medallion surrounded by curved borders—arcs, scallops, or fan-like shapes. This style brings dynamic flow and a sense of grandeur to your quilt. Want a challenge? Try a modern spin on the New York Beauty block with radiating curved spikes.
🧚♀️ 5. Layered Curves for Texture
Use sheer or lightweight fabrics to layer curves for added depth and movement. Think of overlapping waves or petals. It adds texture and dimension while keeping things soft and dreamy.
Why You Should Give Curves a Try
Here’s the truth: sewing curves might make your heart race at first—but they’re also the path to growth in your quilting journey. Every curved seam you sew adds a new skill to your toolbox. And the best part? The results are often more striking, more expressive, and more you than anything you could create with just straight lines.
So go ahead—play with that wavy block. Let your fabric curve, flow, and surprise you. You can do this.
Encouragement Corner: If your first curve looks a little off, that’s okay. Quilt it anyway. Call it “organic.” Celebrate the fact that you’re trying something new. Every master quilter once sewed a wiggly curve and kept going.

Embrace the Wobble
Curves bring life, movement, and a touch of the unexpected flair to your quilts. Curves are not just a technique—they’re an invitation to let go of perfection and embrace play. So pin them, sew them, celebrate them—and have fun along the way.
Happy quilting, and may your curves be ever graceful and full of joy!
Let me know in the comments below if you would like a tutorial on how to sew curves!
Yes absolutely a tutorial on how to sew curves! Thanks for the encouragement corner :)