
There’s something magical about driving through the countryside and spotting a bold, colorful quilt block painted on the side of a barn. These barn quilts connect quilting traditions with folk art, turning simple geometric patterns into large-scale works that celebrate heritage, family, and home.
In this post, we’ll explore the history of barn quilts and walk through how you can create one yourself—whether you plan to hang it proudly outdoors or display it as rustic wall art inside your home.
The History of Barn Quilts
The tradition of barn quilts is often credited to the early 2000s when Donna Sue Groves of Ohio painted a quilt block on her family barn to honor her mother, a lifelong quilter. What began as one tribute blossomed into the Barn Quilt Trail Movement, now stretching across the U.S. and even internationally.
While the modern organized trails are newer, the roots of barn art go back much further. Farmers and homesteaders often decorated their barns with symbols, stars, or patterns for both beauty and a sense of pride in their land. Quilt blocks became a natural extension of that tradition—bold, simple, and full of meaning.
Choosing Your Block Pattern
One of the most meaningful steps is choosing the right block for your barn quilt:
✨ Family Favorites – Select a block you’ve always loved or one that shows up often in your quilting.
✨ Inherited Blocks – Honor a quilt passed down through generations by enlarging one of its motifs.
✨ Traditional Classics – Blocks like Star, Ohio Star, or Churn Dash are popular because they read beautifully at a distance and carry a timeless look.
Remember: the simpler the block, the more striking it will look when viewed from afar.

Picking a Color Scheme
Your color choices will determine whether your barn quilt feels bold and rustic or soft and cozy. Think about:
- Indoor Displays – Choose colors that tie into your room’s décor for a cohesive look.
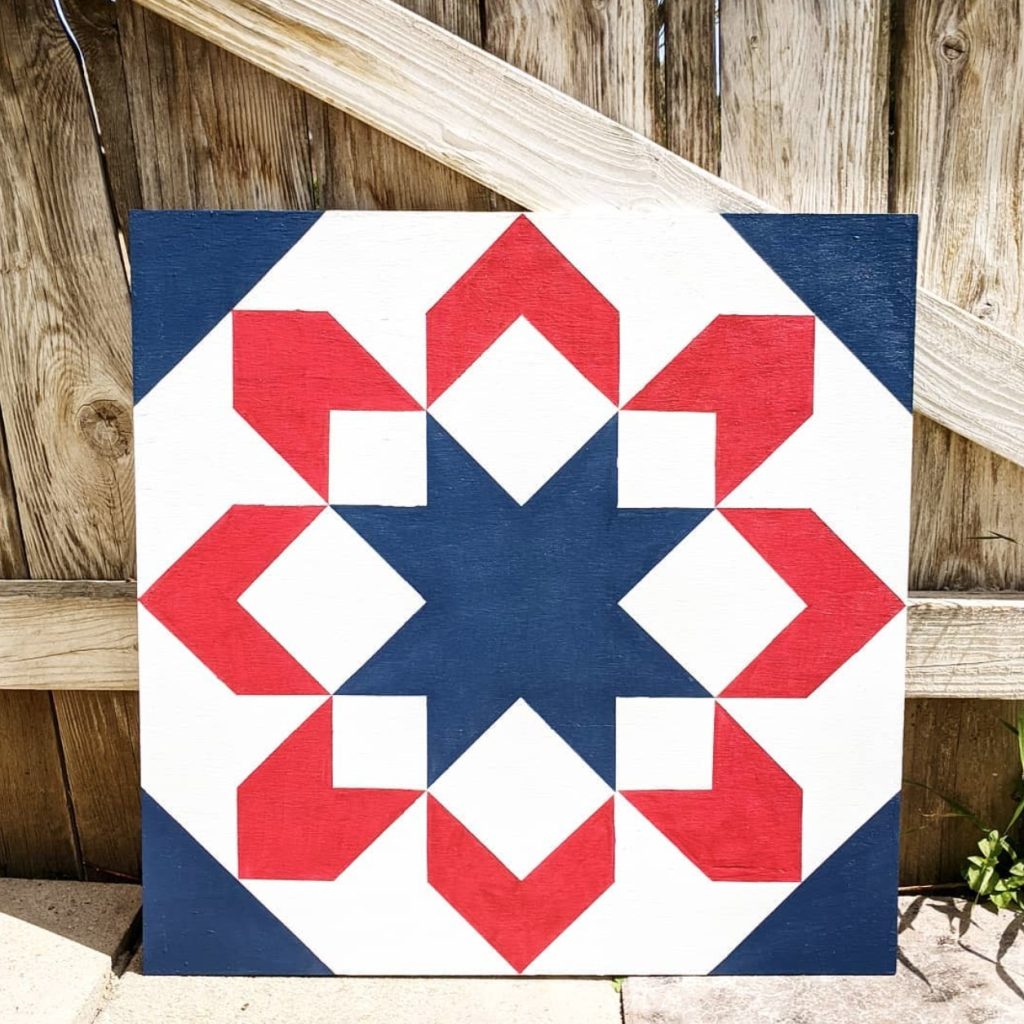
- Outdoor Displays – Match or complement your home’s exterior—reds and blues look striking on white barns, while neutrals can blend seamlessly with farmhouse wood.
- Seasonal Appeal – Warm fall tones, classic holiday colors, or fresh spring palettes can all add seasonal charm.
Step-by-Step: How to Paint a Barn Quilt
Creating a barn quilt is easier than you think—it just requires patience, the right materials, and a steady hand.
Materials You’ll Need:
- Exterior-grade plywood or MDF board (for outdoor display, choose a weatherproof option)
- Primer
- Outdoor acrylic paint in chosen colors
- Painter’s tape
- Ruler, pencil, and quilting block design
- Polyurethane sealer (for outdoor use)
Steps:
- Prime Your Board
Start with a clean, sanded board. Apply at least one coat of primer to prevent warping and create a smooth painting surface. - Mark the Grid
Using a ruler and pencil, lightly sketch your quilt block onto the board. Accuracy here ensures your design will look crisp. - Tape & Paint (Double-Tape Method)
Use painter’s tape to mark off sections of your block. For crisp lines, apply a thin layer of your base color over the tape edges before painting your main color—this “double-tape method” seals the tape and prevents bleeding. - Layer the Colors
Paint one color section at a time, letting each coat dry fully before moving on. Patience is key for a sharp finish! - Seal It If your barn quilt will be outdoors, finish with a coat (or two) of clear polyurethane to protect against sun and rain.
Hanging & Display Tips
Once your barn quilt is painted, you’ll want to display it so it can be admired for years to come:
- Outdoor Hanging – Use strong outdoor screws and brackets to secure the board to a barn, shed, or porch wall. Make sure it’s anchored well against wind.
- Size Matters – Larger barn quilts (4’x4’ or bigger) are best for outdoor viewing, while smaller ones (2’x2’) are perfect for porches or interior walls.
- Visibility – Position your barn quilt where it will catch the eye—on a front-facing wall, near an entryway, or even above a garage.
- Accent Lighting – Add a spotlight or lantern to illuminate your quilt at night. This simple addition makes your barn quilt a feature 24/7.
Ready to Try One?
Barn quilts aren’t just decorative—they’re a link to our quilting heritage, a way of honoring the craft in everyday life. Traditional patterns, with their bold geometry and timeless appeal, continue to resonate more than trendy, fleeting designs. They remind us that quilting has always been about more than fabric—it’s about family, story, and place.
So whether you hang yours on the side of a barn, a front porch, or even above the mantel, a barn quilt is more than art—it’s a legacy piece.
Painting a barn quilt makes a perfect September project: it blends craftsmanship, tradition, and creativity into something uniquely yours. Choose your block, gather your paints, and before long, you’ll have a piece of quilt history adorning your home.