As the crisp October days wind down and the last autumn leaves scatter across the porch, it’s the perfect time to pause and reflect on your quilting journey. Before you jump headlong into holiday sewing or your next big project, take a moment to look back at what you’ve created this month.
Keeping a quilt journal is more than just recording facts and figures about your projects. It’s a way to capture the heart behind your work—the colors you chose, the mistakes that made you laugh, the “aha!” moments that boosted your skills, and the memories stitched into every seam. By documenting your process, you’re creating a keepsake that preserves not just the finished quilts, but also the story of how they came to life.
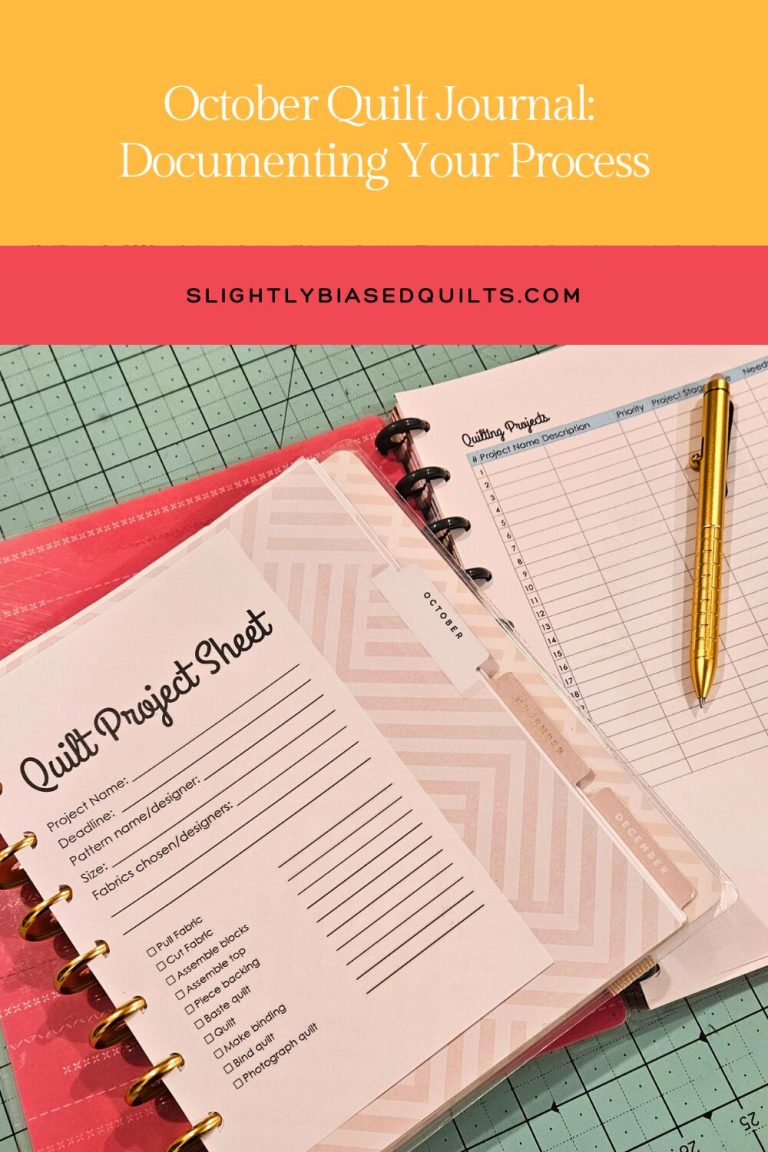
Keep a Quilt Journal
A quilt journal isn’t just a logbook. It’s part scrapbook, part diary, and part teacher’s guide—rolled into one.
- Preserve Your Story: Each quilt carries its own tale, whether it was inspired by a season, a special occasion, or a favorite fabric collection. Writing about your process allows you to remember what made that quilt special.
- Celebrate Your Growth: Over time, you’ll be amazed by how your skills evolve. Recording your progress—like finally nailing those tricky HSTs or piecing crisp points on QSTs—helps you see just how far you’ve come.
- Share Your Journey: Whether with friends, family, or your online quilting community, your journal can inspire others. It’s a lovely way to connect and encourage new quilters.
- Create a Legacy: Imagine your children, grandchildren, or fellow quilters flipping through your journal one day, discovering the stories behind your quilts. It transforms your work into a cherished family treasure.
How to Start Your Quilt Journal
You don’t need to overthink it. A quilt journal can be as simple or as creative as you like. The key is to make it a routine and to keep it meaningful to you.
1. Choose Your Format
Pick something you’ll enjoy using:
- A classic notebook or planner for simple notes and sketches.
- A scrapbook or binder if you love saving swatches and printed photos.
- A digital journal or app for quick entries, especially if you like to keep progress photos organized in one place.
2. Record Fabric Choices
Jot down the fabrics you used—colors, patterns, designers—and why you picked them. Pin or tape in little swatches if you’re using a paper journal. Those tiny bits of fabric will instantly bring back memories when you look back later.
3. Take Progress Photos
Photograph your quilt at every stage: cutting pieces, assembling blocks, laying out the design, and finishing touches. Progress photos are like a flipbook of your quilt’s journey—and a great motivator when you feel stuck in the middle of a project.
4. Log Lessons Learned
Every quilt teaches us something new. Note down your discoveries—like adjusting your machine tension for different fabrics, figuring out the perfect scant ¼″ seam, or trying a new binding method. These tips will come in handy for future projects and remind you of how your skills have grown.
5. Add Personal Touches
Include the date you started and finished the quilt, what you were listening to or watching while you sewed, or even a short note about your mood. Was the quilt made for someone special? Did it help you unwind during a busy month? These personal details turn a simple record into a heartfelt memory.
A Monthly Ritual for Reflection
As October wraps up, spend an afternoon leafing through your quilt journal or starting one. Note what you loved most about your projects this month, what you learned, and what you’re excited to try next. If you’ve never kept a journal before, this is the perfect time to start—before the hustle and bustle of the holiday season.
When you look back next year, you’ll be grateful you took the time to record not just what you made, but also how it felt to create it. Your journal becomes a quiet celebration of your creativity, one quilt at a time.