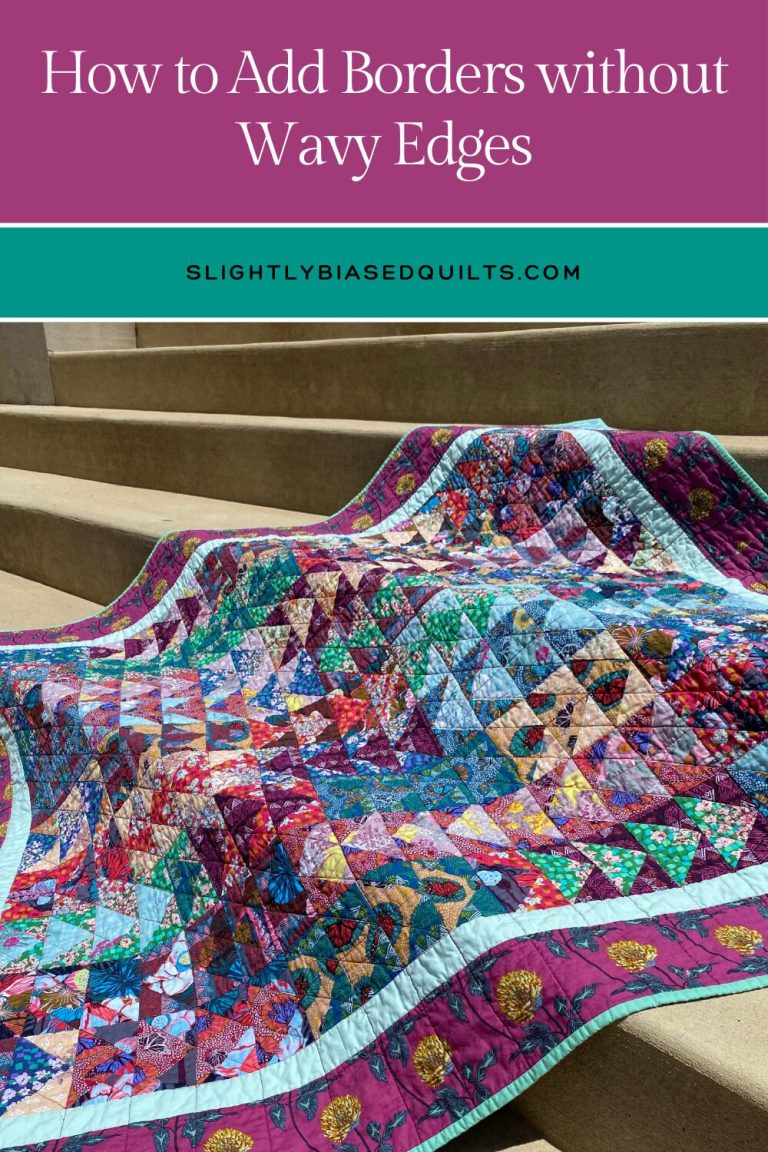
Few things are more frustrating than finishing a beautiful quilt top… only to add borders and end up with waves, ripples, or edges that just won’t lie flat. Borders are meant to frame your quilt and give it a polished finish—not create new problems at the very end.
The good news? Wavy borders are almost always preventable. With a few simple measuring and sewing techniques (the same ones longarm quilters rely on), you can add borders that are smooth, straight, and ready for quilting every time.
Let’s break it down.
Why Do Borders Get Wavy?
Before fixing the problem, it helps to understand what causes it.
The most common reasons for wavy borders are:
- Measuring the quilt top incorrectly
- Cutting borders too long
- Sewing borders on without easing or pinning properly
- Stretching fabric while sewing
The biggest culprit? Using the quilt’s edge as your measurement. Quilt edges often stretch or shrink slightly during piecing, even when blocks are sewn accurately.
The Golden Rule of Borders
Always measure the quilt, not the edge.
Instead of measuring along the outside, measure the quilt in three places:
- Near the top
- Through the center
- Near the bottom
Average those measurements and cut your border to that length.
This simple step alone solves most border issues.

Step-by-Step: How to Add Borders the "Right Way"
There is always more than one way to accomplish different quilt techniques. I’m definitely not the quilt police, this is just the best way to avoid those wavy borders.
Step 1: Measure the Quilt Top
Lay your quilt top flat on a large surface.
- Measure vertically (for side borders) in three places
- Measure horizontally (for top and bottom borders) in three places
- Add the measurements together and divide by three
Write this number down—it’s your cutting measurement.
Step 2: Cut Borders to the Exact Length
Cut your border strips to the averaged measurement, not longer “just in case.”
It can feel risky, but longer borders are what cause waves. Precise cuts lead to flat results.
Step 3: Attach Side Borders First
Sew the side borders on first, then add the top and bottom borders.
- Fold the quilt top and border strip in half to find centers
- Match center points and pin
- Pin at the ends and add a few pins in between
This helps distribute any fullness evenly rather than letting it bunch up.
Step 4: Sew Without Stretching
As you sew:
- Keep the quilt on top and the border underneath (this helps prevent stretching)
- Let the feed dogs do the work
- Sew with a steady, even pace
If the quilt and border don’t match perfectly as you sew, ease the fabric—don’t pull or stretch.
Step 5: Press Carefully
Pressing can either fix or create border issues.
- Press seams toward the border
- Lift and press—don’t slide the iron
- Let the quilt cool before moving it
Heat sets shape, so give your quilt time to relax.
Common Border Mistakes (and Easy Fixes)
Borders are too long:
→ Remove and recut to the correct measurement.
Edges ripple after sewing:
→ Check pressing technique and avoid steam on unstable edges.
Quilt top feels out of square:
→ Square up the top before adding borders, even if it means trimming slightly.
What Longarm Quilters Wish You Knew
Longarm quilters see border problems all the time—and they almost always come back to measurement.
A quilt with flat, square borders:
- Mounts more easily on the frame
- Quilts more smoothly
- Looks more professional when finished
Taking a few extra minutes at the border stage saves time, stress, and potential fixes later.
Special Tips for Large Quilts
Big quilts can exaggerate small issues.
- Measure carefully and double-check numbers
- Use more pins than you think you need
- Sew in sections if needed
Large quilts benefit the most from careful border techniques.
Borders are the final frame for your quilt—and they deserve just as much care as the piecing inside. By measuring correctly, cutting precisely, and sewing thoughtfully, you can add borders that lie flat and look beautifully professional.
No waves. No surprises. Just crisp, straight edges ready for quilting.
Happy stitching—and may all your borders behave. 🧵✨
very helpful instructions