
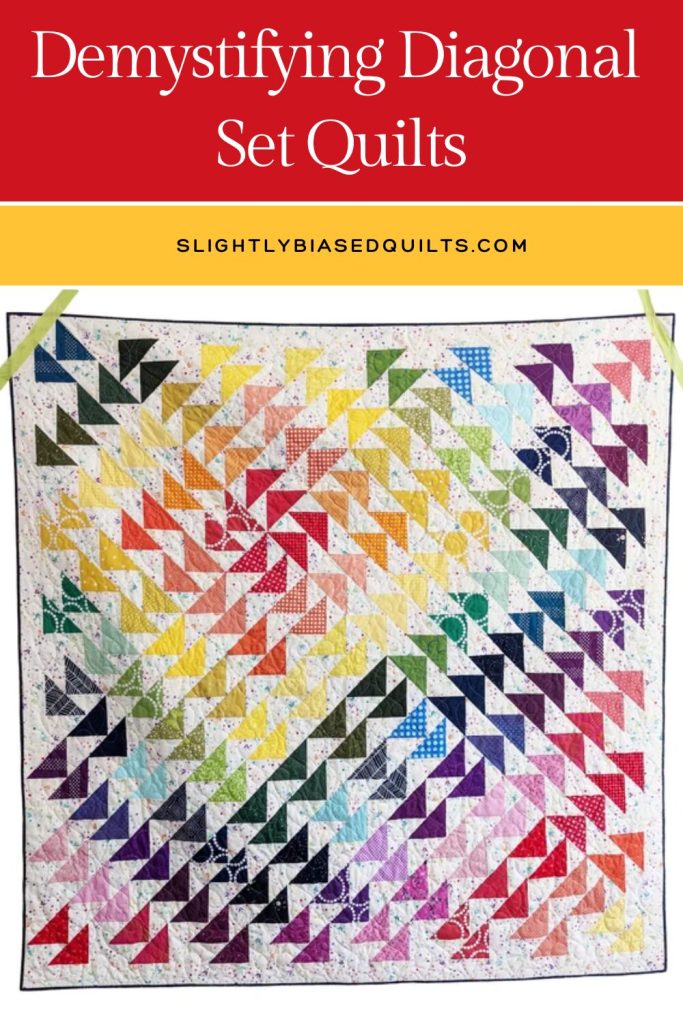
There’s something timeless and elegant about a quilt set on point. Turning blocks diagonally instantly creates movement, softens the grid look, and gives even simple quilt blocks a completely different personality. But for many quilters, diagonal set quilts can feel intimidating—mostly because of those mysterious setting triangles and corner triangles.
The good news? Once you understand the math behind them, diagonal set quilts are much easier than they appear.
Let’s break it down step-by-step so you can confidently tackle your next on-point quilt.
What Is a Diagonal Set Quilt?
A diagonal set quilt (also called an “on-point” quilt) is made by rotating square blocks 45 degrees so they appear like diamonds instead of traditional squares. Because the edges become uneven when blocks are turned, triangles are added around the sides and corners to straighten the quilt.
That’s where setting triangles and corner triangles come in.
The Radian Quilt is a fantastic place to start if you want to give on point quilts a try.
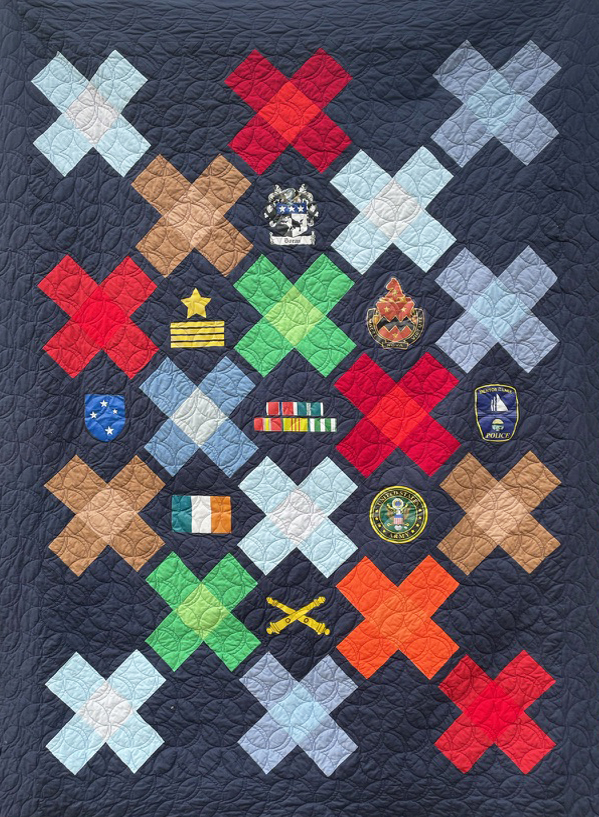
Setting Triangles vs. Corner Triangles
These two triangle types serve different purposes:
Setting Triangles
These triangles go along the sides of the quilt between the corner triangles. They fill in the gaps created by the diagonal blocks.
Corner Triangles
These smaller triangles sit at the four corners of the quilt to square everything off neatly.
Even though they look similar once sewn in, they’re cut differently and use different calculations.
The Secret to Success: Add Extra for Trimming
Before we dive into the math, here’s one of the most important tips for diagonal quilts:
Always leave yourself a little extra fabric around the outer edges.
Even experienced quilters end up with slight stretching along bias edges, especially when working with triangles. Having extra room allows you to square up and trim the quilt top cleanly at the end.
Trying to cut triangles “exactly perfect” often leads to frustration when points or edges come up short later. A little extra fabric is your friend.
Calculating Side Setting Triangles
For side setting triangles, you’ll start with the finished size of your quilt block.
Formula:
- Take the finished block size
- Multiply by 1.414
- Add about 1¼ inches for seam allowance and trimming room
Example:
Let’s say your finished quilt blocks are 12 inches.
12 × 1.414 = 16.97
Round up to 17 inches
Add extra trimming allowance → cut an 18¼-inch square
Then:
- Cut the square twice diagonally
- This gives you four side setting triangles
These triangles will have the straight grain on the outside edge, which helps reduce stretching along the quilt border.
Calculating Corner Triangles
-
Corner triangles are smaller and cut differently.
Formula:
- Take the finished block size
- Divide by 1.414
- Add about ⅞ inch
Example:
Using the same 12-inch finished block:
12 ÷ 1.414 = 8.49
Round to 8½ inches
Add trimming allowance → cut a 9⅜-inch squareThen:
- Cut the square once diagonally
- This gives you two corner triangles
You’ll need two squares total to create all four corner triangles.
Why the Grain Direction Matters
One reason diagonal quilts can feel tricky is because many outer edges end up on the bias. Bias edges stretch more easily than straight grain fabric, especially during handling or quilting.
That’s another reason adding extra trimming space is so helpful. After the quilt top is assembled, you can carefully square the edges and remove any uneven stretching before borders or binding are added.
Helpful Tips for On-Point Quilts
Starch Is Your Friend
Lightly starching fabrics before cutting helps stabilize bias edges and keeps triangles easier to handle.
Handle Triangles Gently
Avoid tugging or over-pressing triangle edges while sewing. Let the feed dogs do the work.
Square Up Frequently
Check blocks and rows often as you sew. Small adjustments early prevent bigger headaches later.
Use Design Walls
Diagonal layouts can shift visually while assembling. A design wall helps you keep orientation and spacing correct.
Don’t Let the Math Scare You
The first diagonal set quilt always feels a little magical because the pieces don’t look like they should fit together—but somehow they do. Once you understand the role of setting triangles and corner triangles, the process becomes much more approachable.
And remember: perfection isn’t the goal. Quilts are forgiving, especially when you leave yourself enough fabric to trim and square up at the end.
With a little planning and a little extra fabric around the edges, you’ll be creating beautiful on-point quilts with confidence in no time.
Here is your curated July newsletter, formatted beautifully to give your subscribers a quick, highly scannable digest of everything happening on the blog this month.
thanks so much for the details…I love the way on point quilts look but after trying my first one a bit ago and finding the math hard to understand, haven’t tried one since. I’ll give it another shot and keep this post bookmarked!