
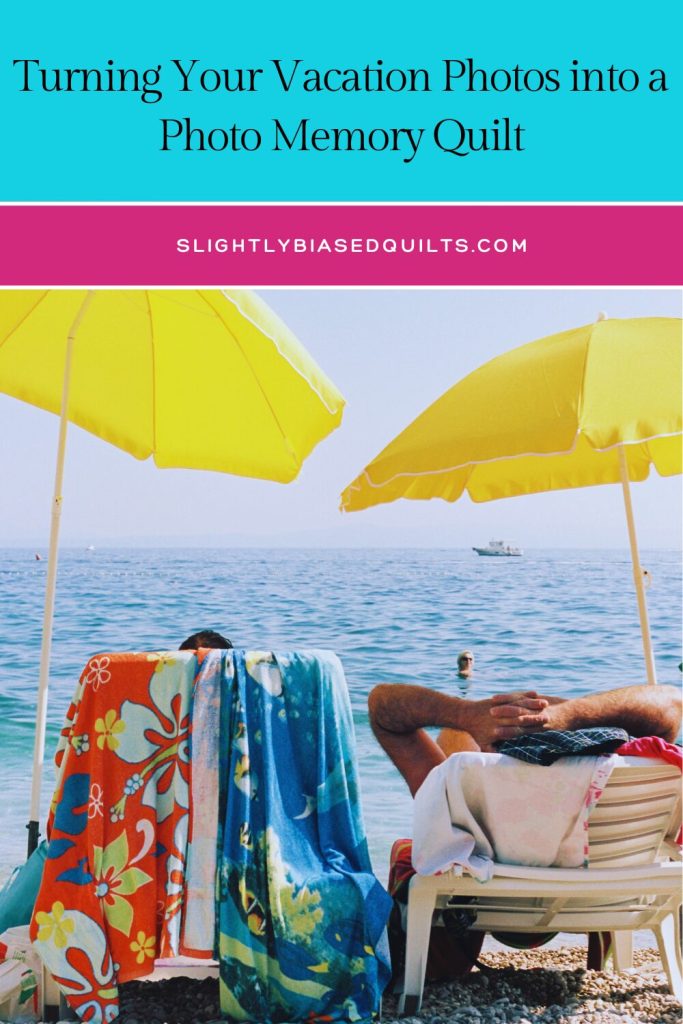
It is July 24th, which means we are officially in the golden peak of summer. Your phone’s camera roll is likely brimming with snapshot memories: sun-drenched beach days, family road trips, hikes through national parks, or quiet mornings on a cabin porch.
But let’s be honest for a second. What usually happens to those photos once summer ends? They sit in digital limbo, buried under a sea of screenshots and grocery lists, rarely to be looked at again.
As quilters, we have a unique superpower. We don’t just capture memories; we stitch them into things we can wrap ourselves in. If you want a creative way to preserve this summer’s adventures, it’s time to talk about the ultimate heritage project: The Photo Memory Quilt.
Instead of printing photos, this approach turns your favorite images into beautiful fabric interpretations using applique, pixelated piecing, and improv/hand-drawn-style techniques. The result is a soft, artistic, completely quilted memory that feels personal and timeless.
Step 1: Curate a Cohesive Collection
The secret to a successful memory quilt is curation. Instead of trying to recreate every photo, choose a tight collection of 9 to 12 standout images that best capture the feeling of the trip.
Look for a mix of:
- Landscape shots: A stunning sunset, mountain peak, or ocean horizon.
- Macro details: Close-ups of seashells, wildflowers, or textured sand.
- Action shots: Family laughing around a campfire, kids on a boardwalk, or a silhouette at golden hour.
Pro-Tip for Cohesion: Use a free phone app (like Lightroom or VSCO) to apply a consistent, subtle filter to all the photos. This helps you see the dominant colors and mood more clearly when translating them into fabric.
Step 2: Recreate Your Photos with Fabric
This is where the magic happens. Use your vacation photos as artistic inspiration rather than literal prints. Here are three beautiful approaches:
Applique Technique
Perfect for recognizable scenes and focal moments. Trace or freehand the major shapes from your photo (trees, mountains, waves, figures) onto fusible web. Cut them from carefully chosen fabrics and applique them onto background blocks. Layer different textures and tones to create depth — think raw-edge applique for a soft, artistic look or needle-turn for crisp detail.
Pixelated Piecing
Turn your photo into a quilted mosaic! Simplify the image into a grid of small squares (2″ or 1.5″ work well). Use a photo-to-quilt app or even graph paper to map out color blocks, then piece tiny squares into larger photo-inspired blocks. This creates a modern, almost painterly effect that reads beautifully from a distance.
Improv / Hand-Drawn Style
For a more organic, artistic feel, use improv piecing and curved cuts to loosely interpret the photo. Cut sweeping curves for hills or shorelines, improv strip-piece skies and water, and use small scraps for foliage and details. This style captures the emotion of the memory rather than a photographic replica.
You can mix and match all three techniques within the same quilt — for example, a pixelated sky with appliqued foreground elements.
Step 3: Choose a Pattern That Breathes
Avoid a stiff grid layout. Treat your fabric “photo” blocks as featured elements in a modern quilt design:
- Polaroid Block Layout: Frame each fabric scene with wide white or cream borders so the blocks look like oversized, handcrafted Polaroids floating across the quilt.
- Gallery Wall Style: Alternate your interpreted photo blocks with simple minimalist patchwork (flying geese, log cabins, or improv strips) in a neutral palette to give the eye rest.
Step 4: Pulling the Coordinating Fabrics
Let your vacation photos guide your fabric pull. Pull solids, textures, and prints that echo the colors and mood of the trip:
- Mountains? Rich evergreens, oatmeal linens, slate grays, and warm browns.
- Beach trip? Soft sandy creams, sun-bleached corals, watery blues, and faded denims.
Don’t forget to incorporate clothing worn on the trip — a favorite faded chambray shirt, bandanna, or swimsuit cover-up — to add authentic texture and personal history.
Essential Tips for Memory Quilts
- Test Your Techniques First: Make a small sample block using your chosen method (applique, pixel, or improv) to make sure you’re happy with the scale and style.
- Use a Design Wall: These artistic blocks benefit from constant tweaking as you arrange them.
- Gentle Quilting: When quilting, avoid dense stitching directly over detailed applique or focal areas. Echo quilting or gentle straight lines around the memory blocks keeps the focus on your fabric artwork.
- Label It: Add a simple pieced or embroidered label on the back with the trip location, year, and names of everyone who was there.
Every time you pull this quilt over your lap on a chilly evening, you’ll be transported right back to those warm summer days. It’s a beautiful, lasting way to keep the spirit of your travels alive for generations.
Have you ever made a memory quilt from vacation photos? Which technique — applique, pixelated, or improv — are you most excited to try? Let’s chat in the comments below!
Wow! Love this idea