
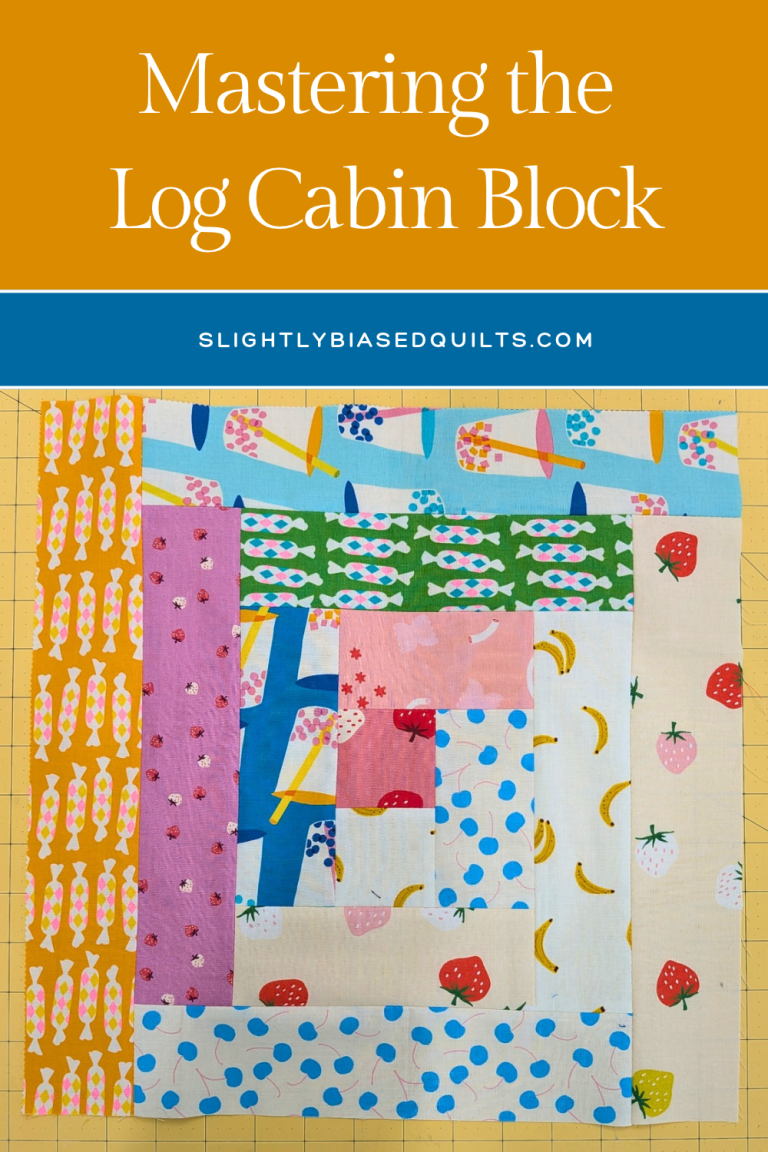
Few quilt motifs are as iconic or versatile as the traditional Log Cabin block. Whether arranged in a classic Barn Raising pattern, a striking light-and-dark diagonal layout, or a modern minimalist setting, it remains a timeless staple.
However, achieving crisp corners, flat units, and an accurate finished dimension can feel surprisingly tricky. Because a Log Cabin block builds continuously outward from a central hearth square, minor piecing errors compound with every single round. A seam off by just a hair on row one can lead to wavy outer edges, stretched strips, and a block that finishes noticeably undersized by round four.
If you’ve ever had a Log Cabin block bow out in the middle or end up a full inch smaller than your pattern promised, you are not alone. Here is how to troubleshoot the most common pitfalls and master the core techniques for perfectly flat, precise blocks every single time.
Dial In a True Scant ¼" Inch Seam
In Log Cabin piecing, a standard ¼” wide seam allowance is often slightly too wide. Because fabric folds over itself at the seam line—taking up a tiny fraction of an inch known as the “turn of the cloth”—a standard seam gradually shrinks your block as you add strips.
- Test Your Seam First: Stitch (2) 1½” test strips together, press open, and measure the center unit. It should measure exactly ½”. If it is even ¹⁄₃₂” under, shift your needle position slightly to the right to achieve a true scant ¼” seam.
- Use a Stitch Guide: Lock in your alignment by placing a strip of painter’s tape or a magnetic seam guide on your machine bed aligned precisely with your needle.
Press Seams
Traditional quilting wisdom often recommends pressing Log Cabin seams toward the dark strip. However, as the rounds build, the center square accumulates multiple overlapping fabric layers, creating a high spot in the middle of your block.
- Why press away from the center? Pressing your seams away from the center of your block allows your block to lay flat and keeps your pressing direction cohesive.
- Press, Don’t Drag: Always press with a straight up-and-down motion. Dragging the iron across long, thin strips stretches the fabric grain on the bias, causing the outer edges of your block to bow out or flare.
Take the Guesswork Out with a Dedicated Trim Tool
If you want absolute perfection without stress, oversizing your strips slightly and trimming after each round with a specialized helper like the Creative Grids Log Cabin Trim Tool completely transforms the piecing process.
Instead of worrying about minor seam drift compounding as your block grows, the ruler acts as a built-in safety net. After your first round, placing the designated center square over your starting unit locks in a perfectly square foundation before any outer strips are added. As you continue building, aligning the ruler’s guide lines over each newly pieced round and trimming instant-corrects any slight distortion. This process of trimming removes seam errors before they can skew the next row. By the time you reach the final round, this ruler delivers flat, precise units and makes the final quilt assembly entirely effortless.
Ready to Put These Tips to the Test?
Building precision into your Log Cabin blocks doesn’t mean sewing at breakneck speed. Slowing down your pace, verifying your scant seam allowance, pressing accurately, and trimming systematically after each round transforms Log Cabin piecing from a frustrating guessing game into a relaxing, highly satisfying rhythm.
If you’re eager to try these techniques, check out our previous blog post Modern Log Cabin Block for step-by-step assembly!