
As a quilter, you’ve spent countless hours piecing together beautiful fabrics and perfecting every stitch. When it comes time to showcase your work—whether for a blog, social media, or personal portfolio—high-quality photos are essential. Capturing the true beauty of your quilt can be challenging, but with a few key techniques, you can ensure that your photos do your quilts justice.
Here’s how to take high-quality photos of your quilts:

1. Lighting
- Natural Light is Your Best Friend: The best lighting for photographing quilts is natural light. Shoot during the day when the sun is bright, but avoid direct sunlight, which can cause harsh shadows and wash out colors. Early morning or late afternoon light, also known as “golden hour,” is ideal for capturing the vibrant colors and intricate details of your quilt.
- Diffuse Harsh Light: If you must shoot in direct sunlight or with strong indoor lighting, use a diffuser to soften the light. You can create a DIY diffuser with a sheer white curtain or a large piece of white fabric.
2. Background
- Neutral Backdrops Work Best: To keep the focus on your quilt, choose a simple, neutral background. White, gray, or beige walls work well. If shooting outdoors, a clean, grassy area or a plain fence can make a lovely backdrop.
- Consider Texture: While you want the background to be simple, a bit of texture—like a wooden wall or a rustic barn door—can add warmth and interest to your photos without overpowering the quilt.
3. Placement
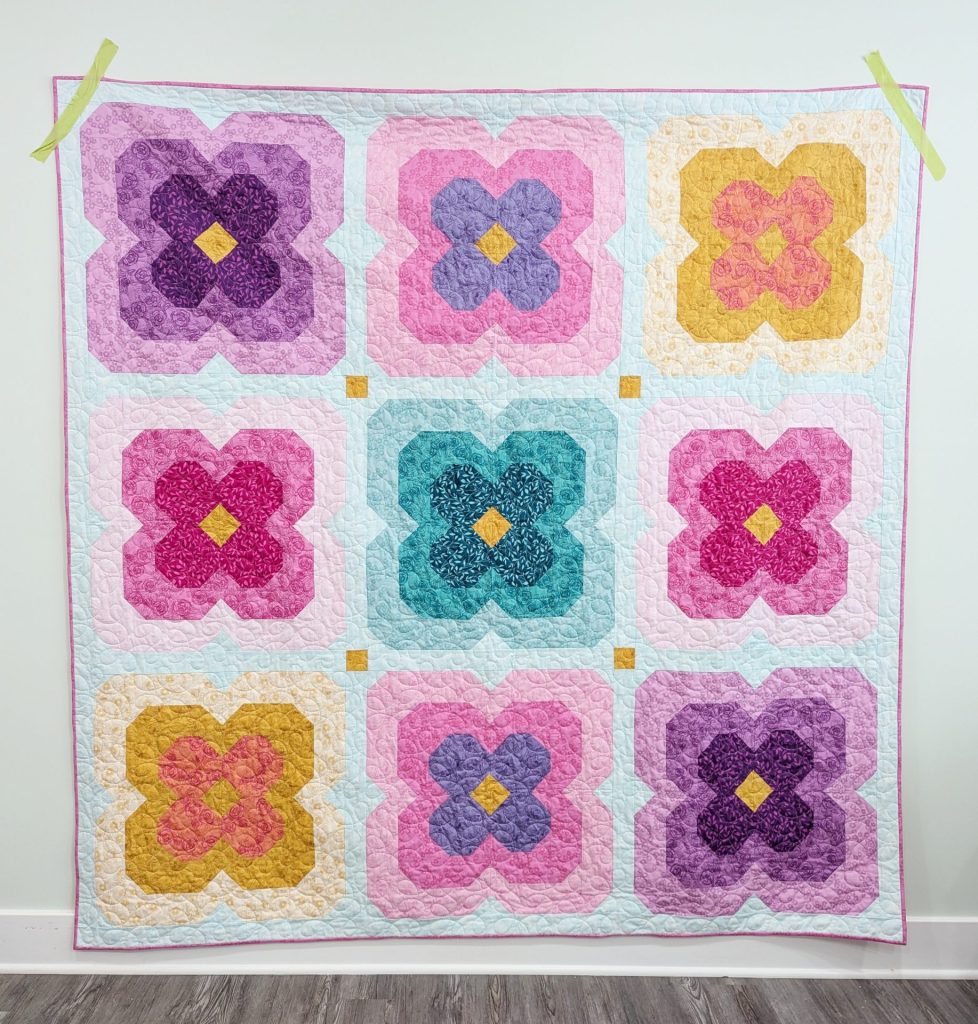
- Hang It Up: Hanging your quilt vertically is often the best way to capture its full design. You can use a quilt stand, a rod, or even tape it to a wall (using painter’s tape to avoid damage). Make sure the quilt is hanging straight and flat, without any wrinkles.
- Lay It Flat: For detail shots or smaller quilts, laying the quilt flat on a clean surface can provide a great perspective. Shooting from above allows you to capture the entire design in one shot.
- Don’t be afraid to mix it up: While I always like to have a straight on view photo to see the whole design, a few props and a thoughtfully chosen scenery can add to the ambience of the photo.
4. Composition
- Frame the Quilt: Ensure that the entire quilt is in the frame with some space around the edges. This will prevent the image from feeling cramped and allow viewers to appreciate the quilt’s design fully.
- Use the Rule of Thirds: Imagine dividing your image into a 3×3 grid. Positioning key elements of your quilt along these lines or at their intersections can create a more balanced and aesthetically pleasing composition.
5. Details
- Close-Up Shots: In addition to full shots, take close-up photos of the quilting stitches, fabric textures, and any special details, like appliqué, binding, the label, and embroidery. These shots give viewers a sense of the craftsmanship involved.
- Angles Matter: Experiment with different angles to find the most flattering perspective. For example, photographing the quilt slightly from the side can highlight the texture of the quilting.

6. Camera Settings
- Use a Tripod: To avoid blurry images, especially in lower light conditions, use a tripod. This also helps with getting consistent framing across multiple shots. I know you’re using your phone. Not to fear, there are phone tripods great for this.
- Remote: If you struggle with steady hands when it comes to photographing, pick up one of these handy remotes that can connect to your phone. Place your phone on the tripod and click the button once everything is in the frame to your liking.
7. Edit
- Enhance Without Overdoing It: Use photo apps like instagram or canva to fine-tune your images. Adjust the brightness, contrast, and color balance as needed, but avoid over-editing. The goal is to make the quilt look as close to its true colors as possible.
- Crop for Impact: Sometimes cropping your image can enhance the focus on your quilt or eliminate distracting background elements.
High-quality photos are not only a powerful way to share the beauty and craftsmanship of your quilts, but it is a great way to keep records of all the quilts you make. By paying attention to the details, you can create images that truly capture the essence of your work. Whether you’re photographing for a blog, a quilt show submission, or just to share with friends and family, these tips will help you present your quilts in the best possible light.
Happy quilt photographing!